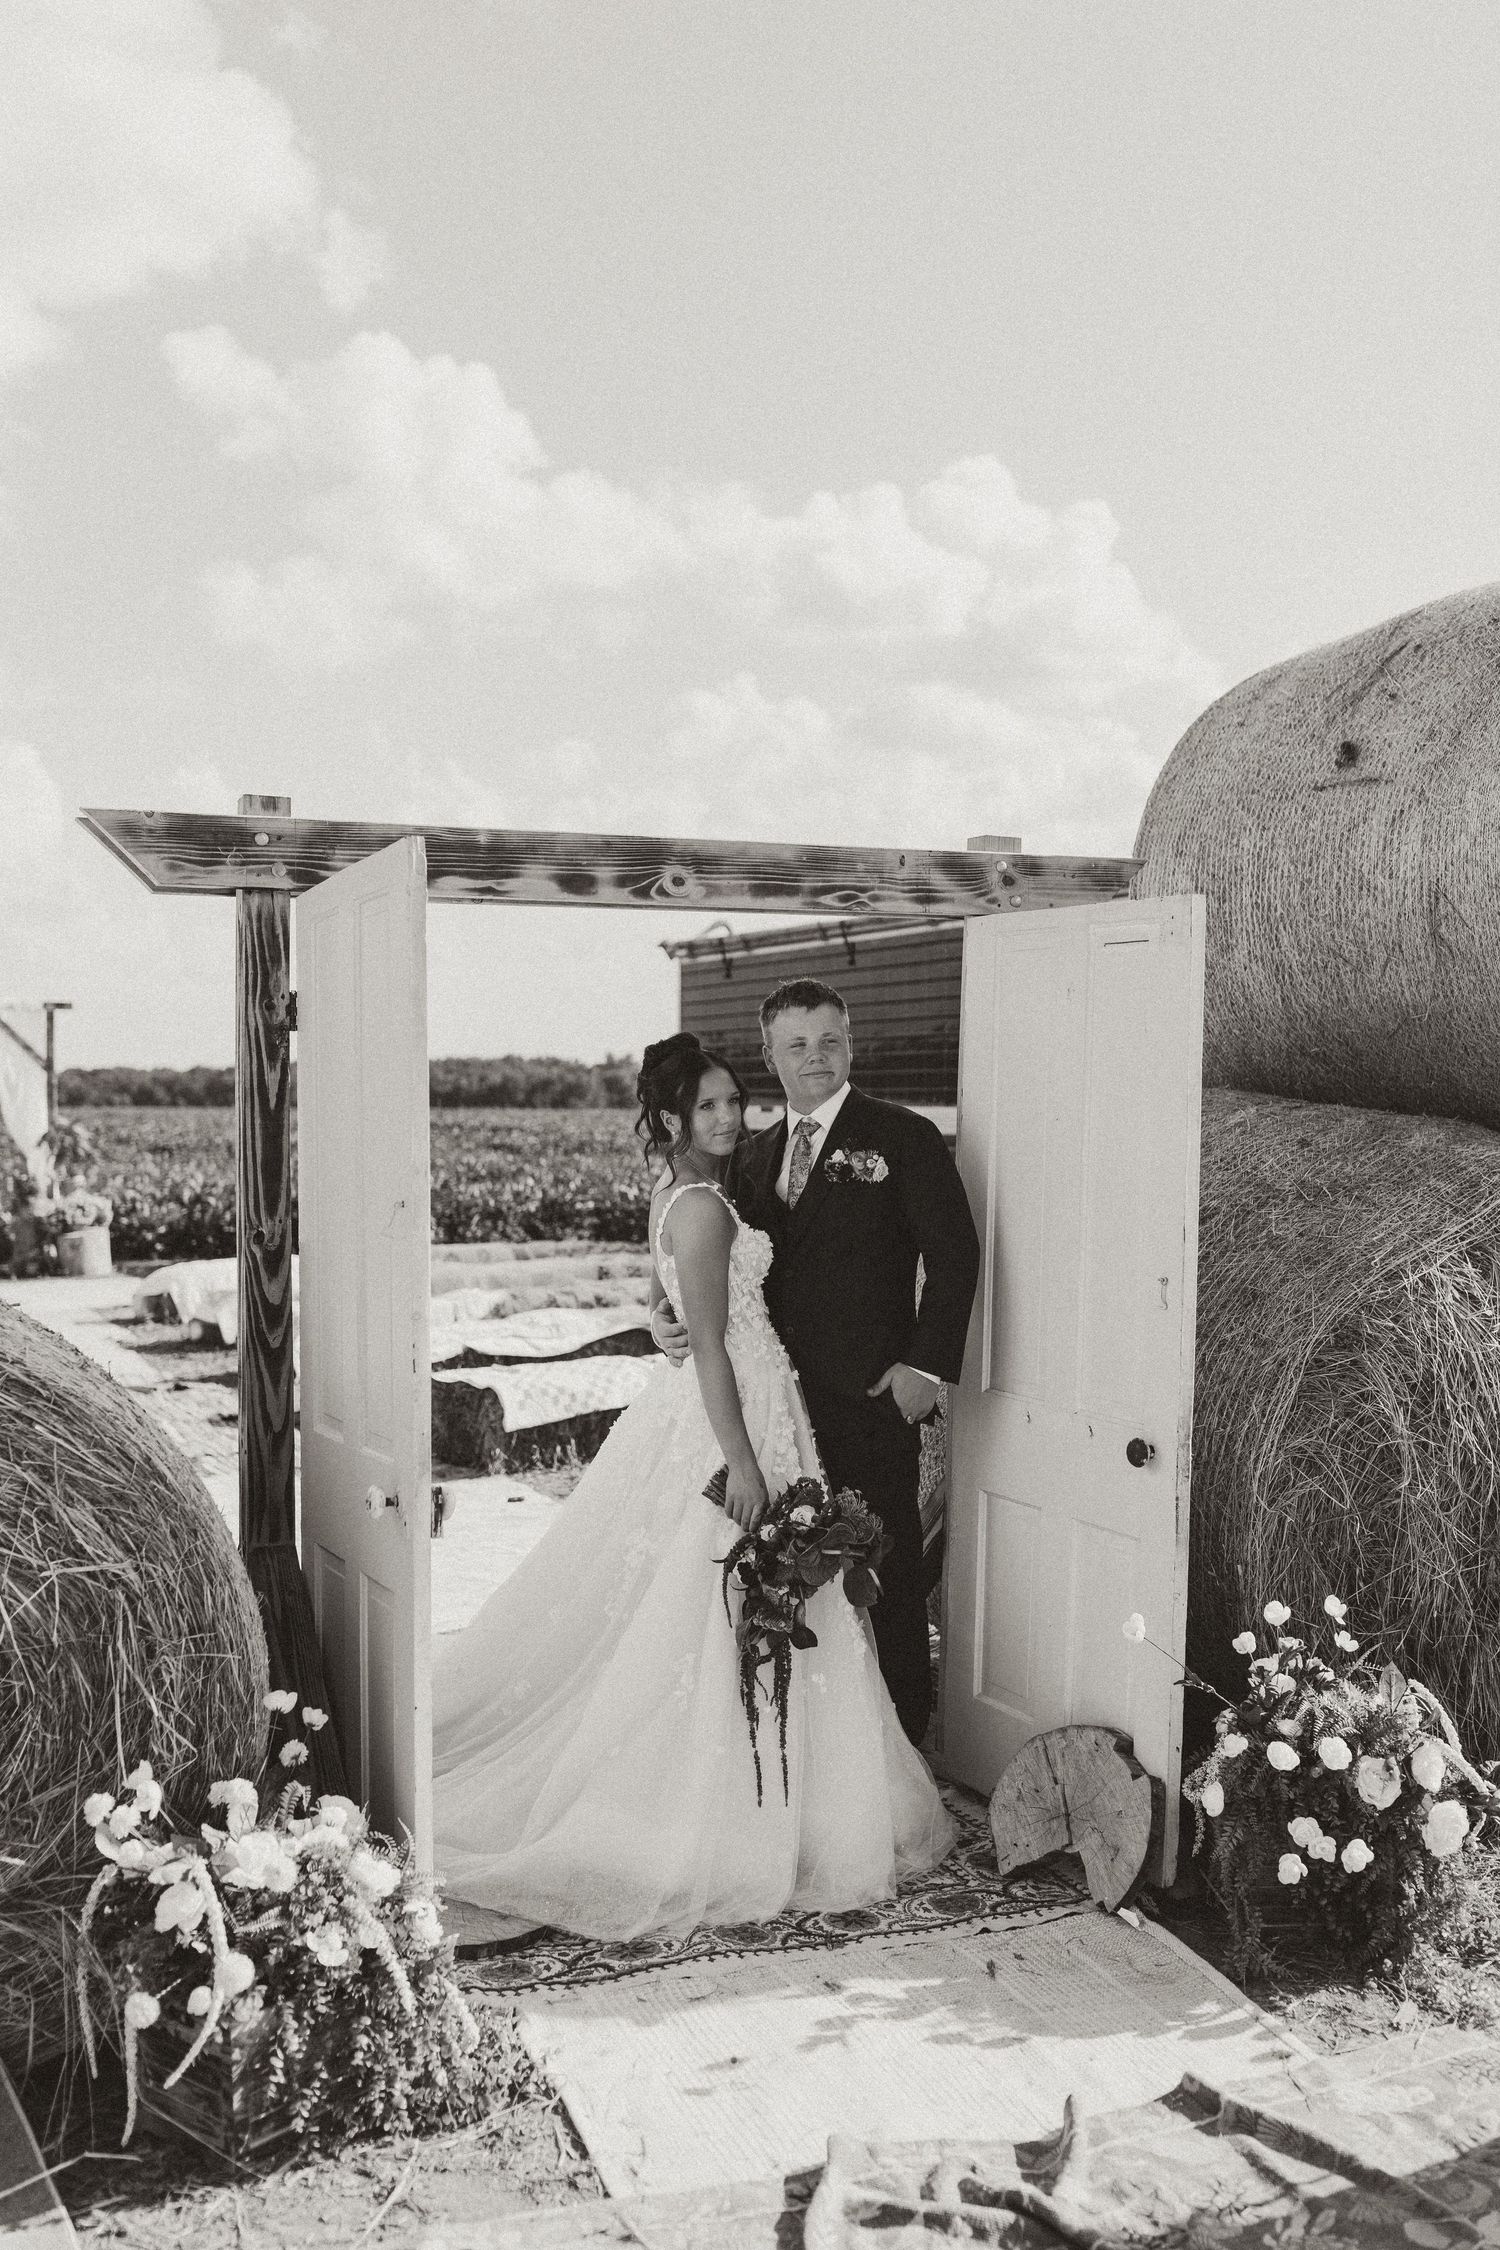
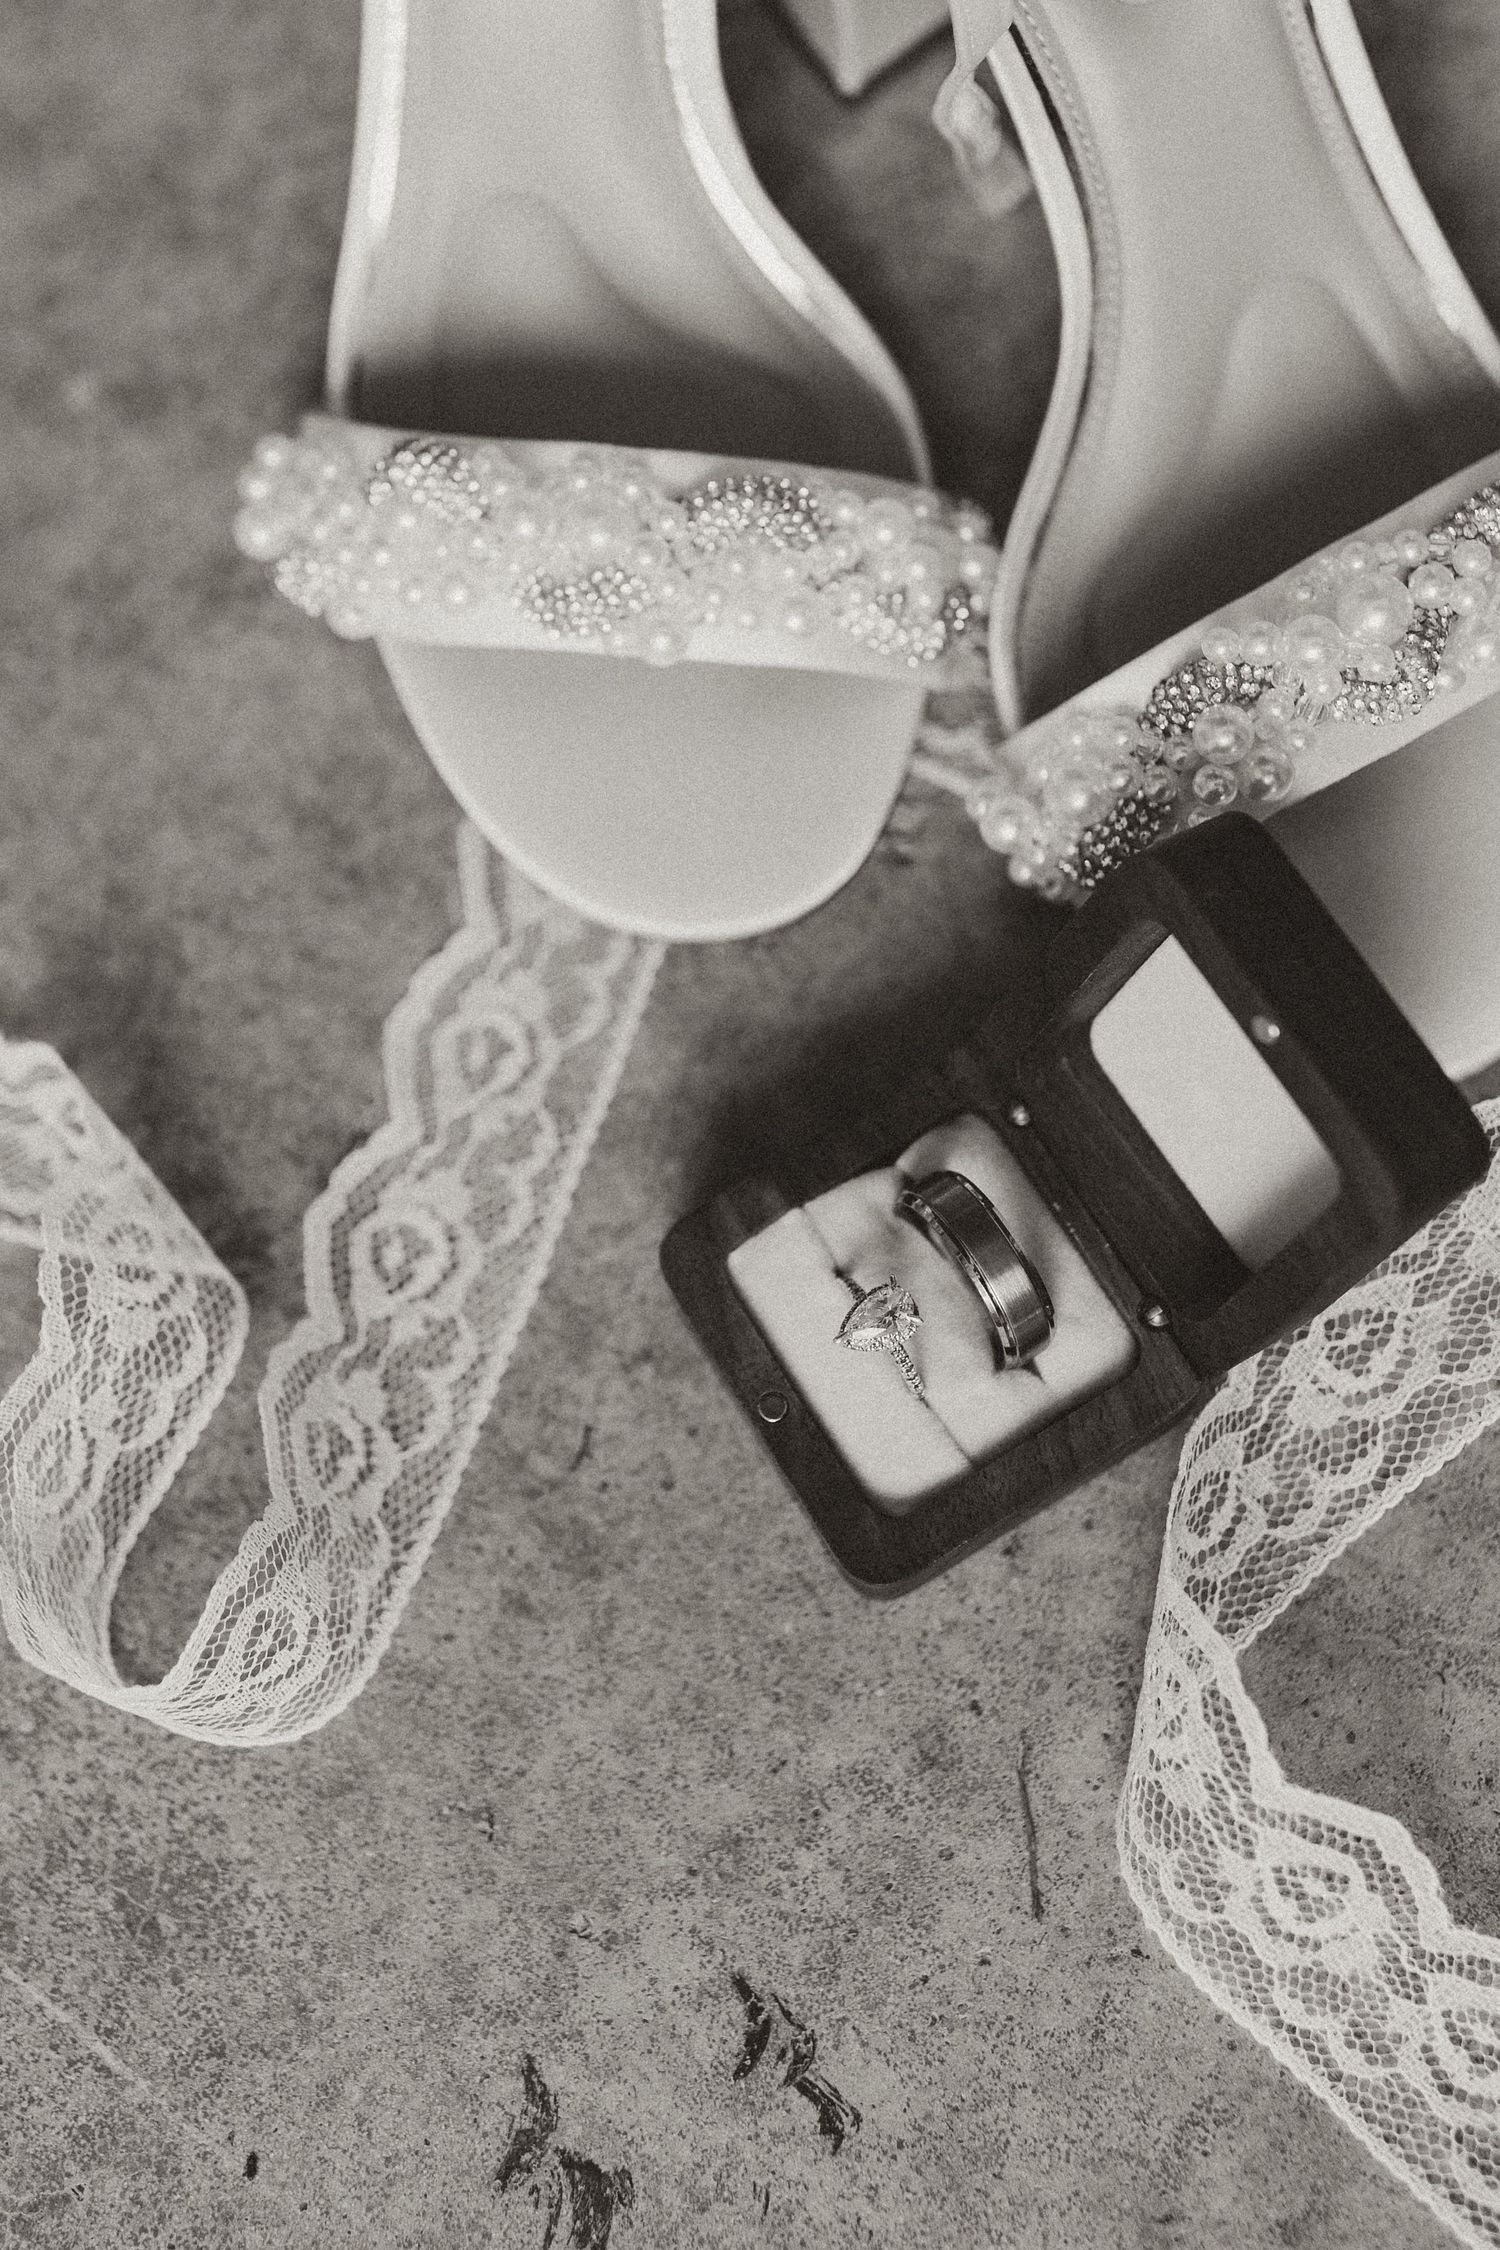
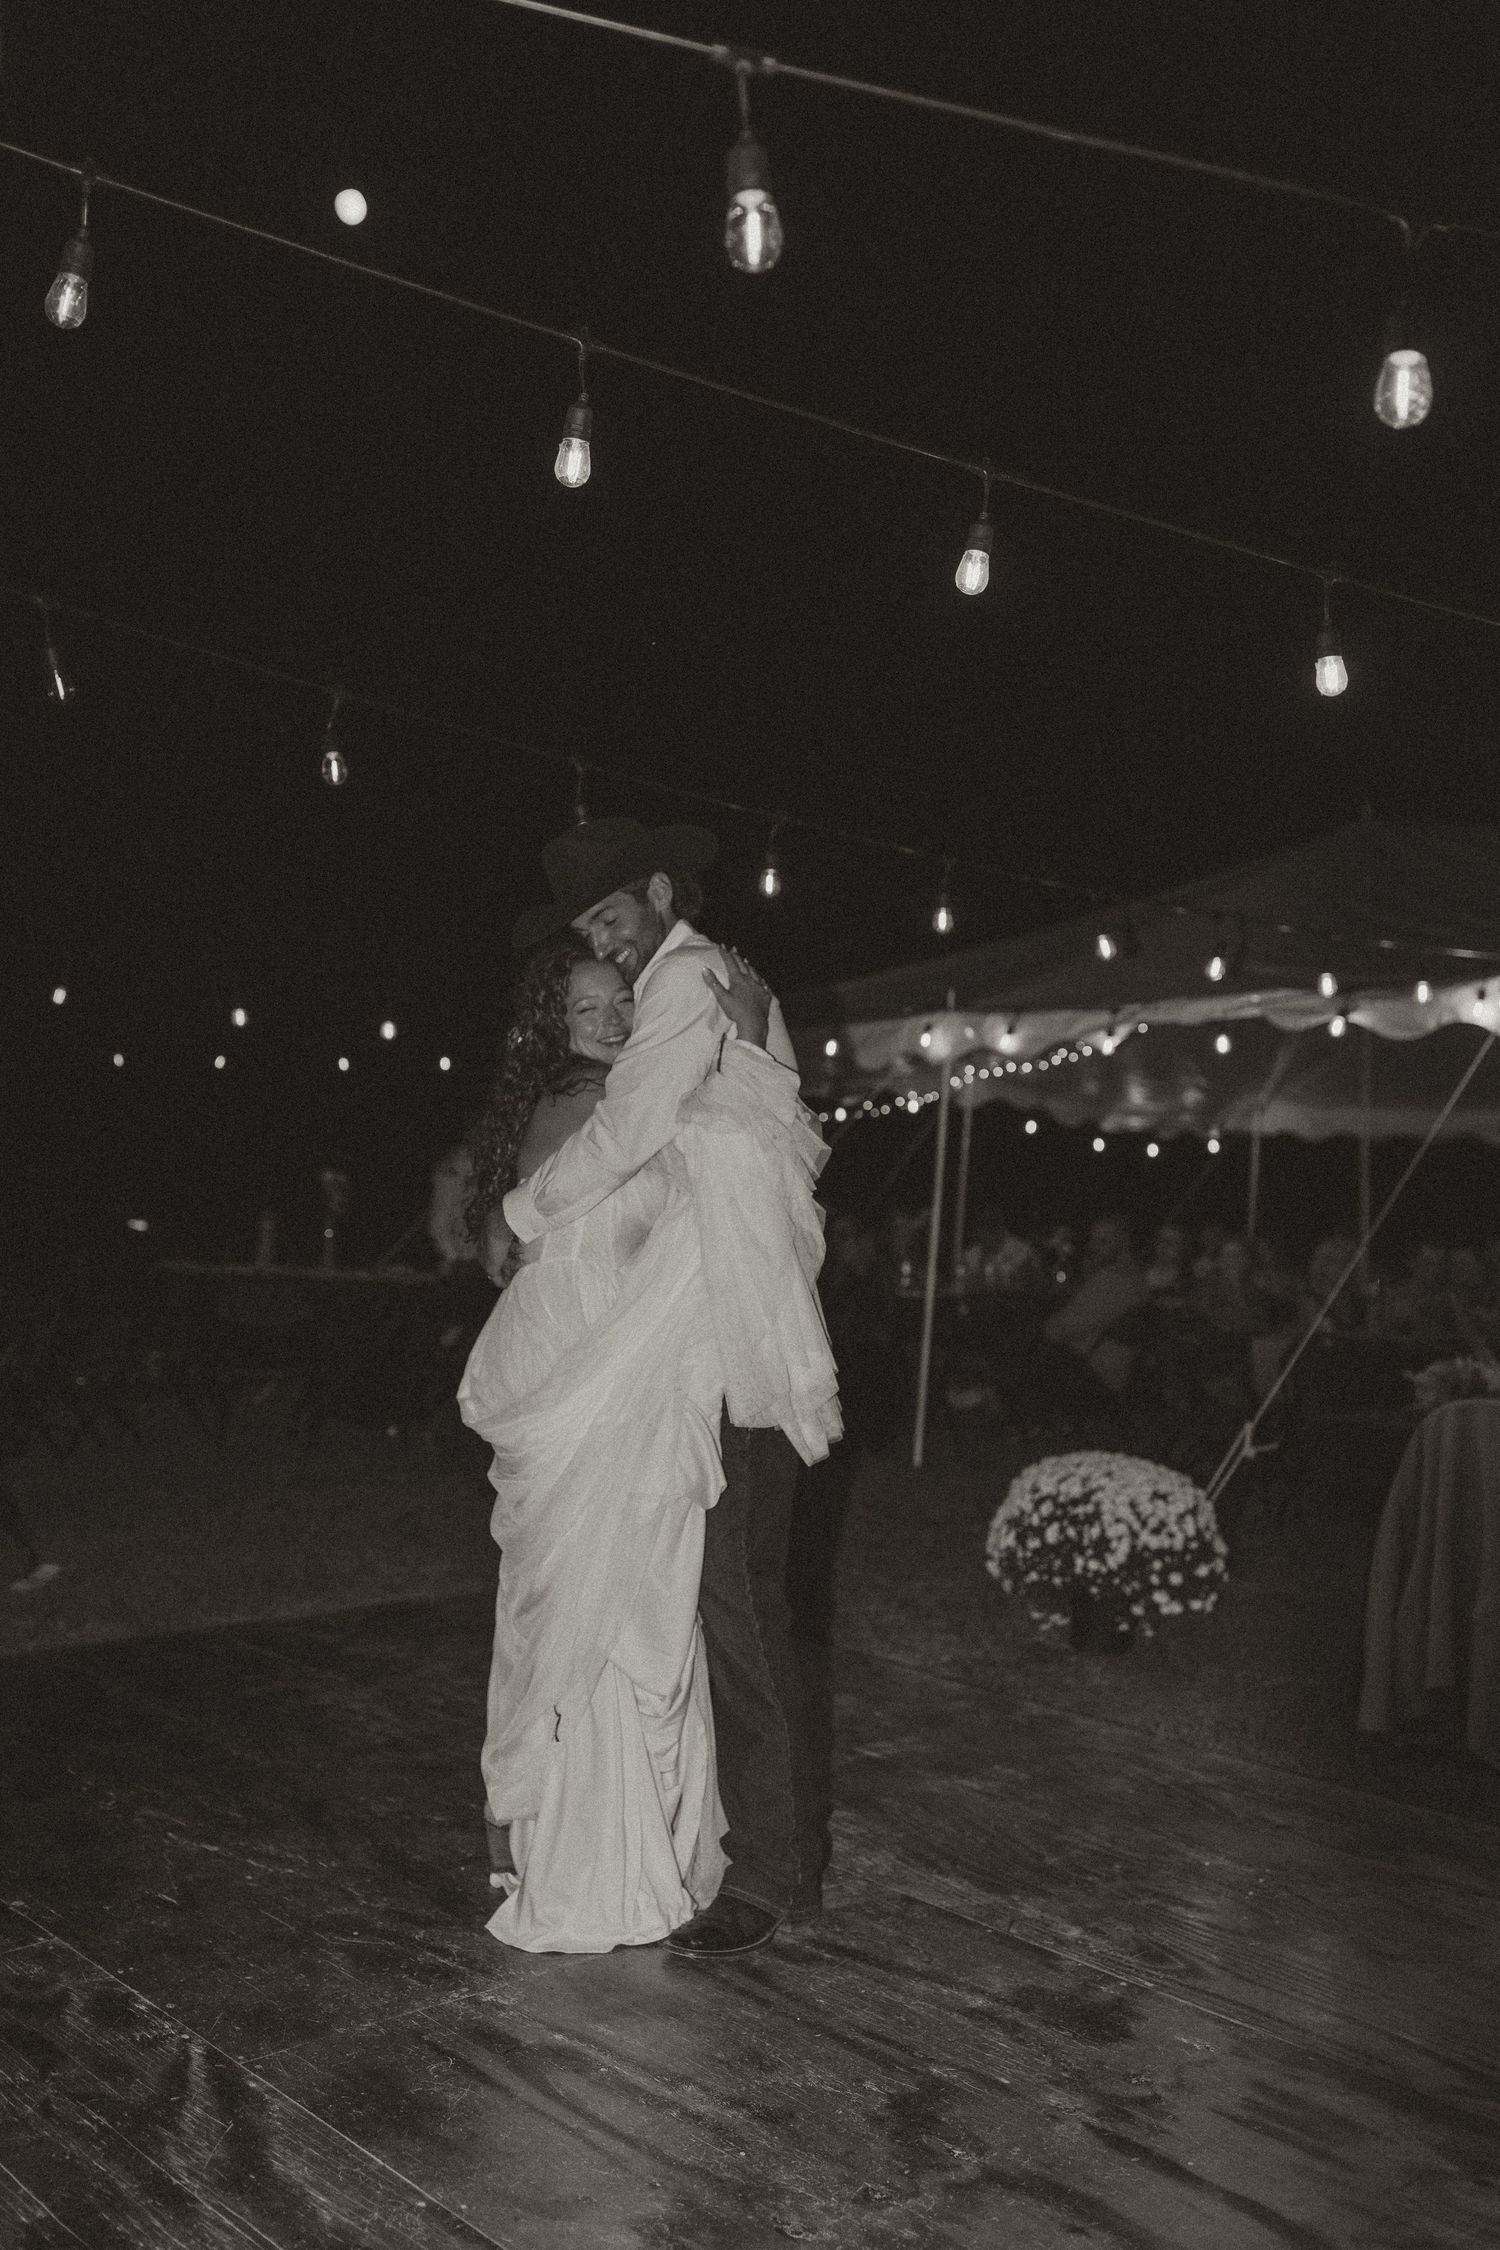
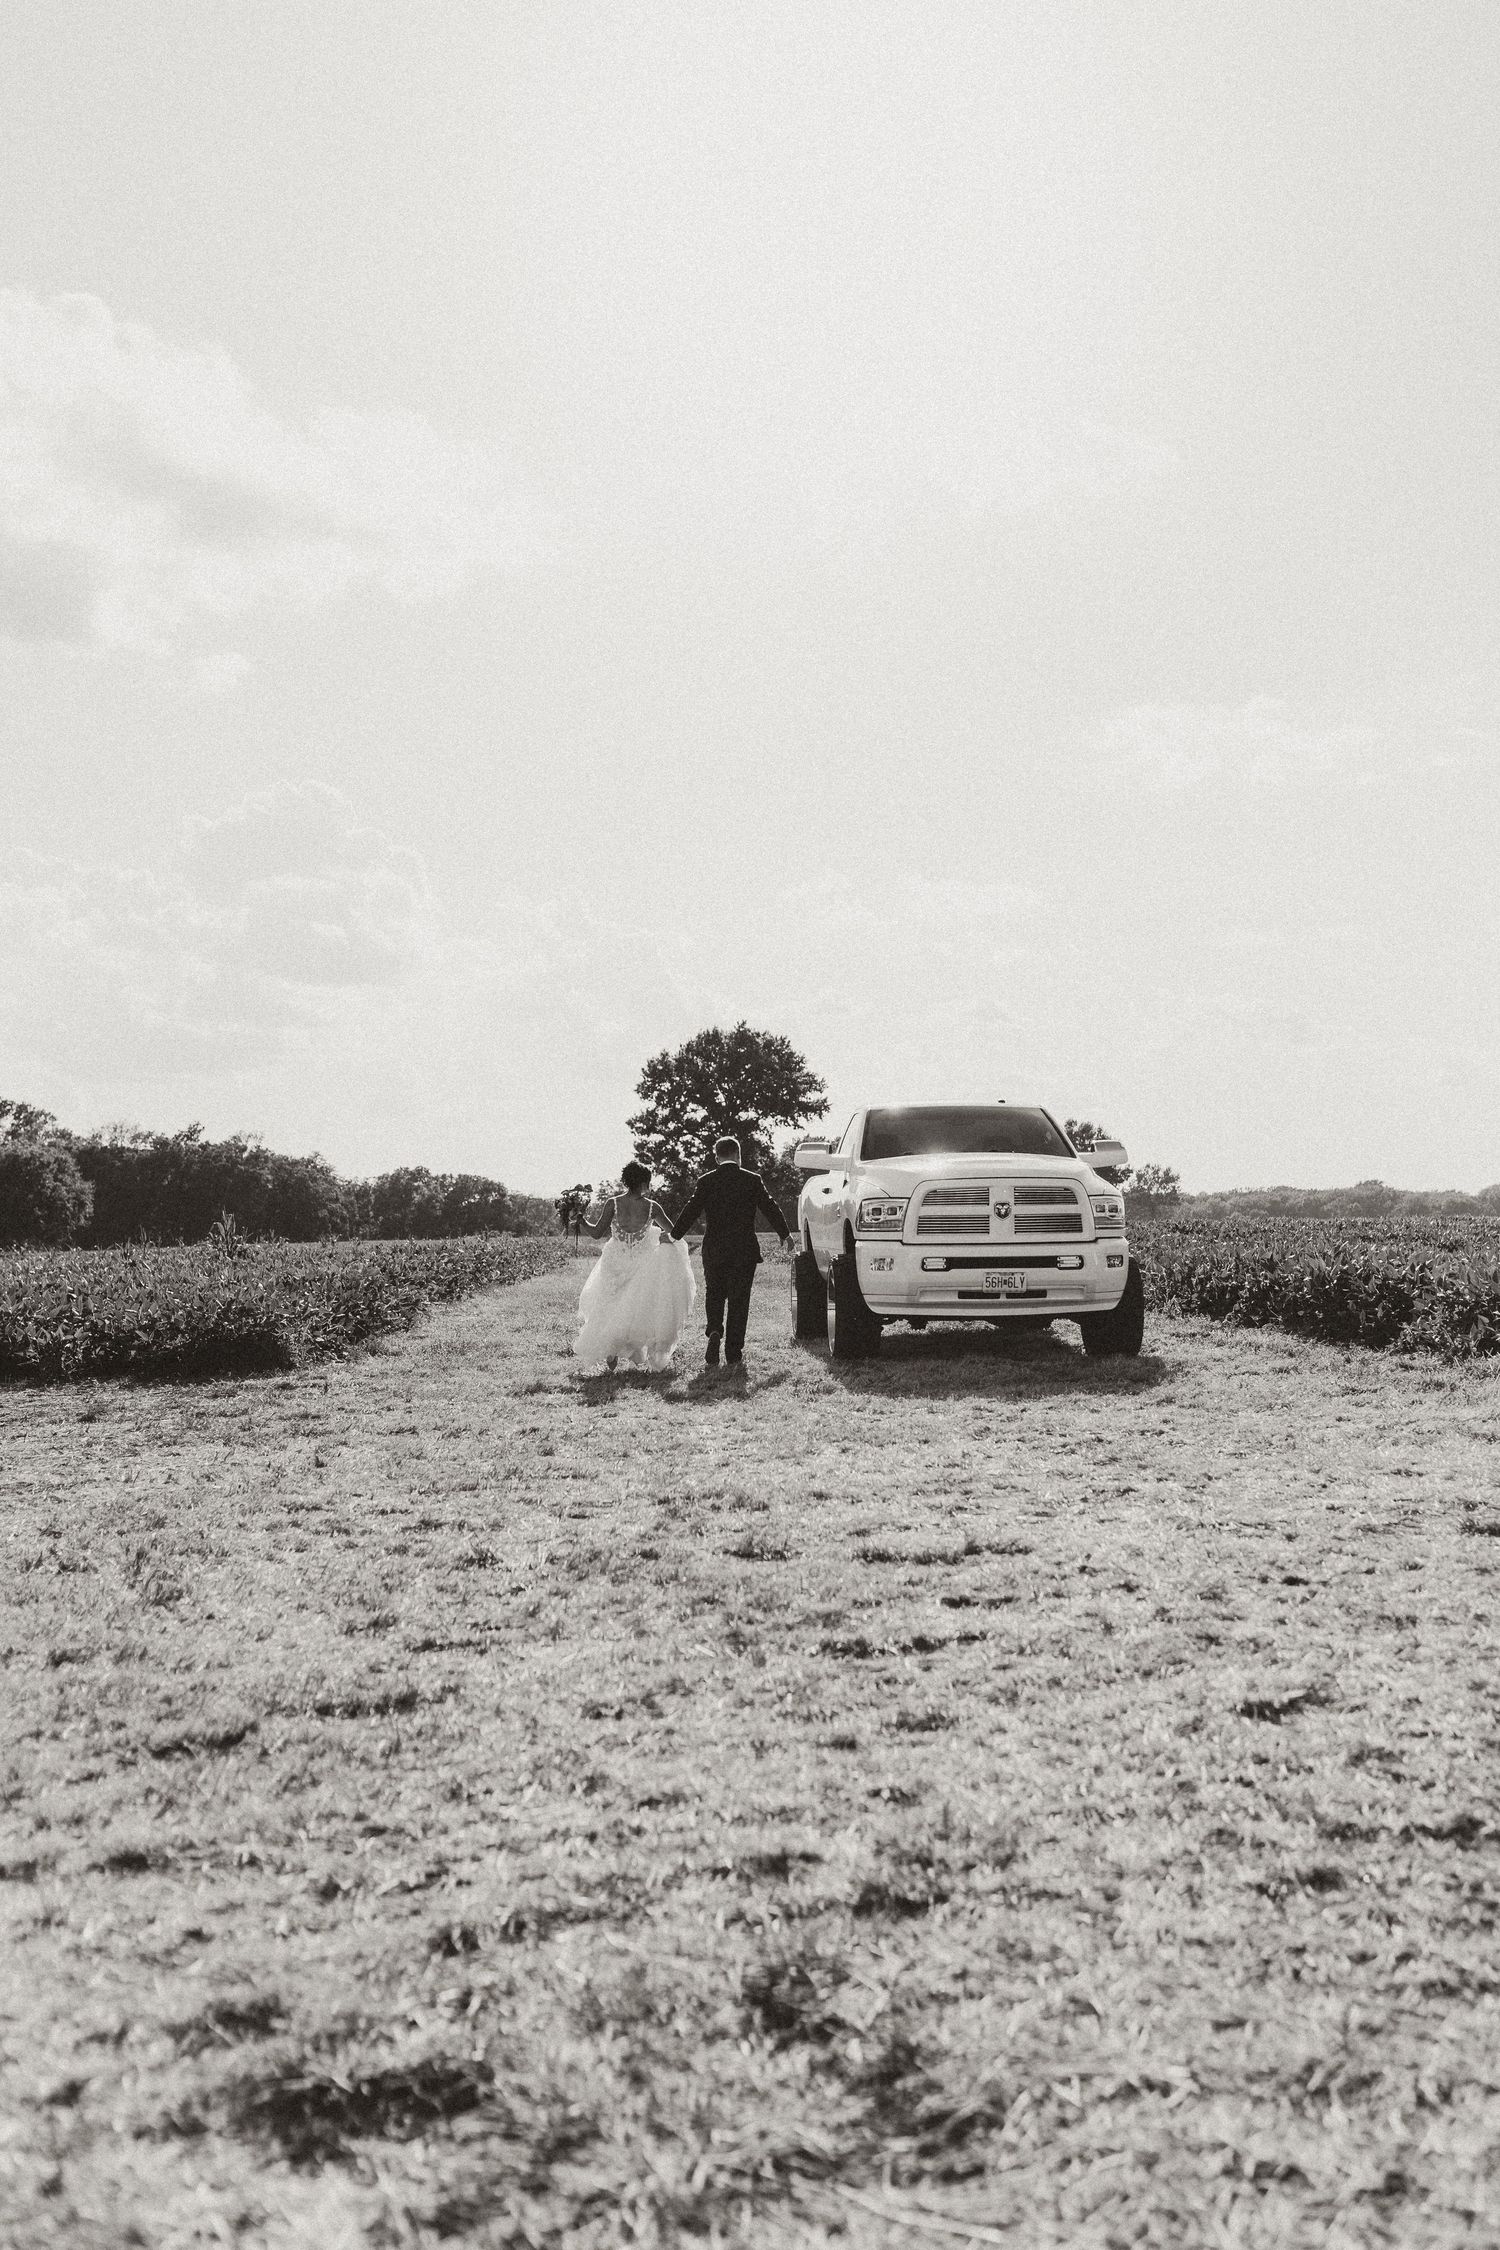
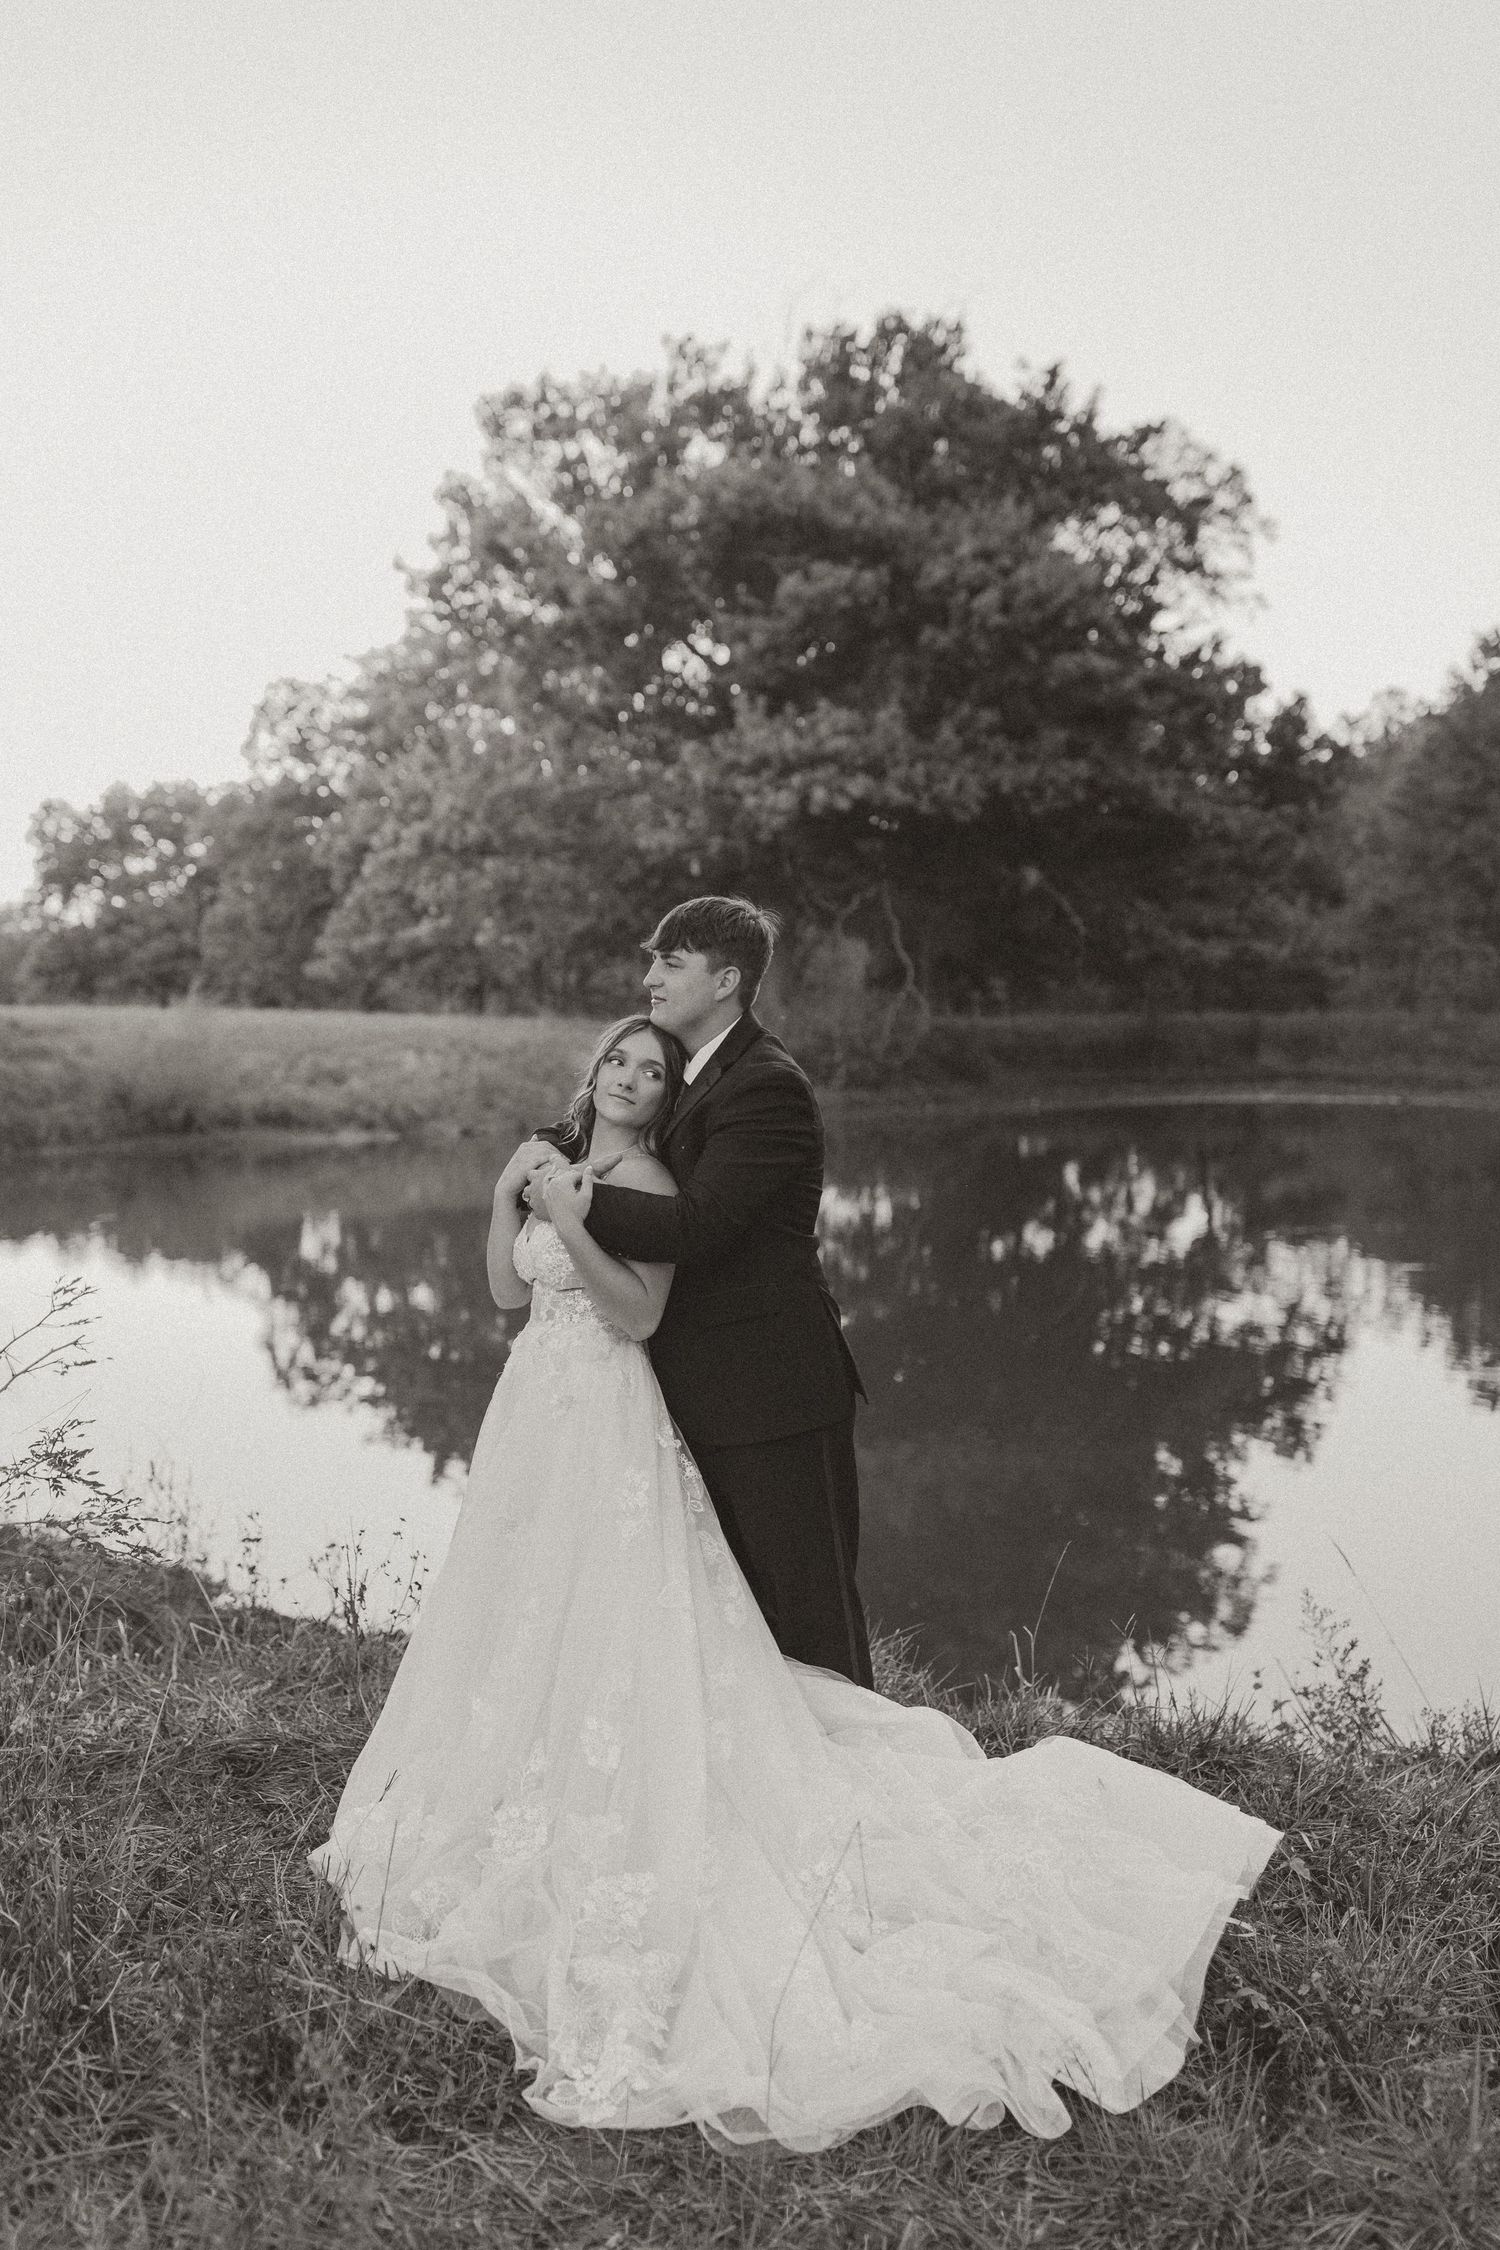
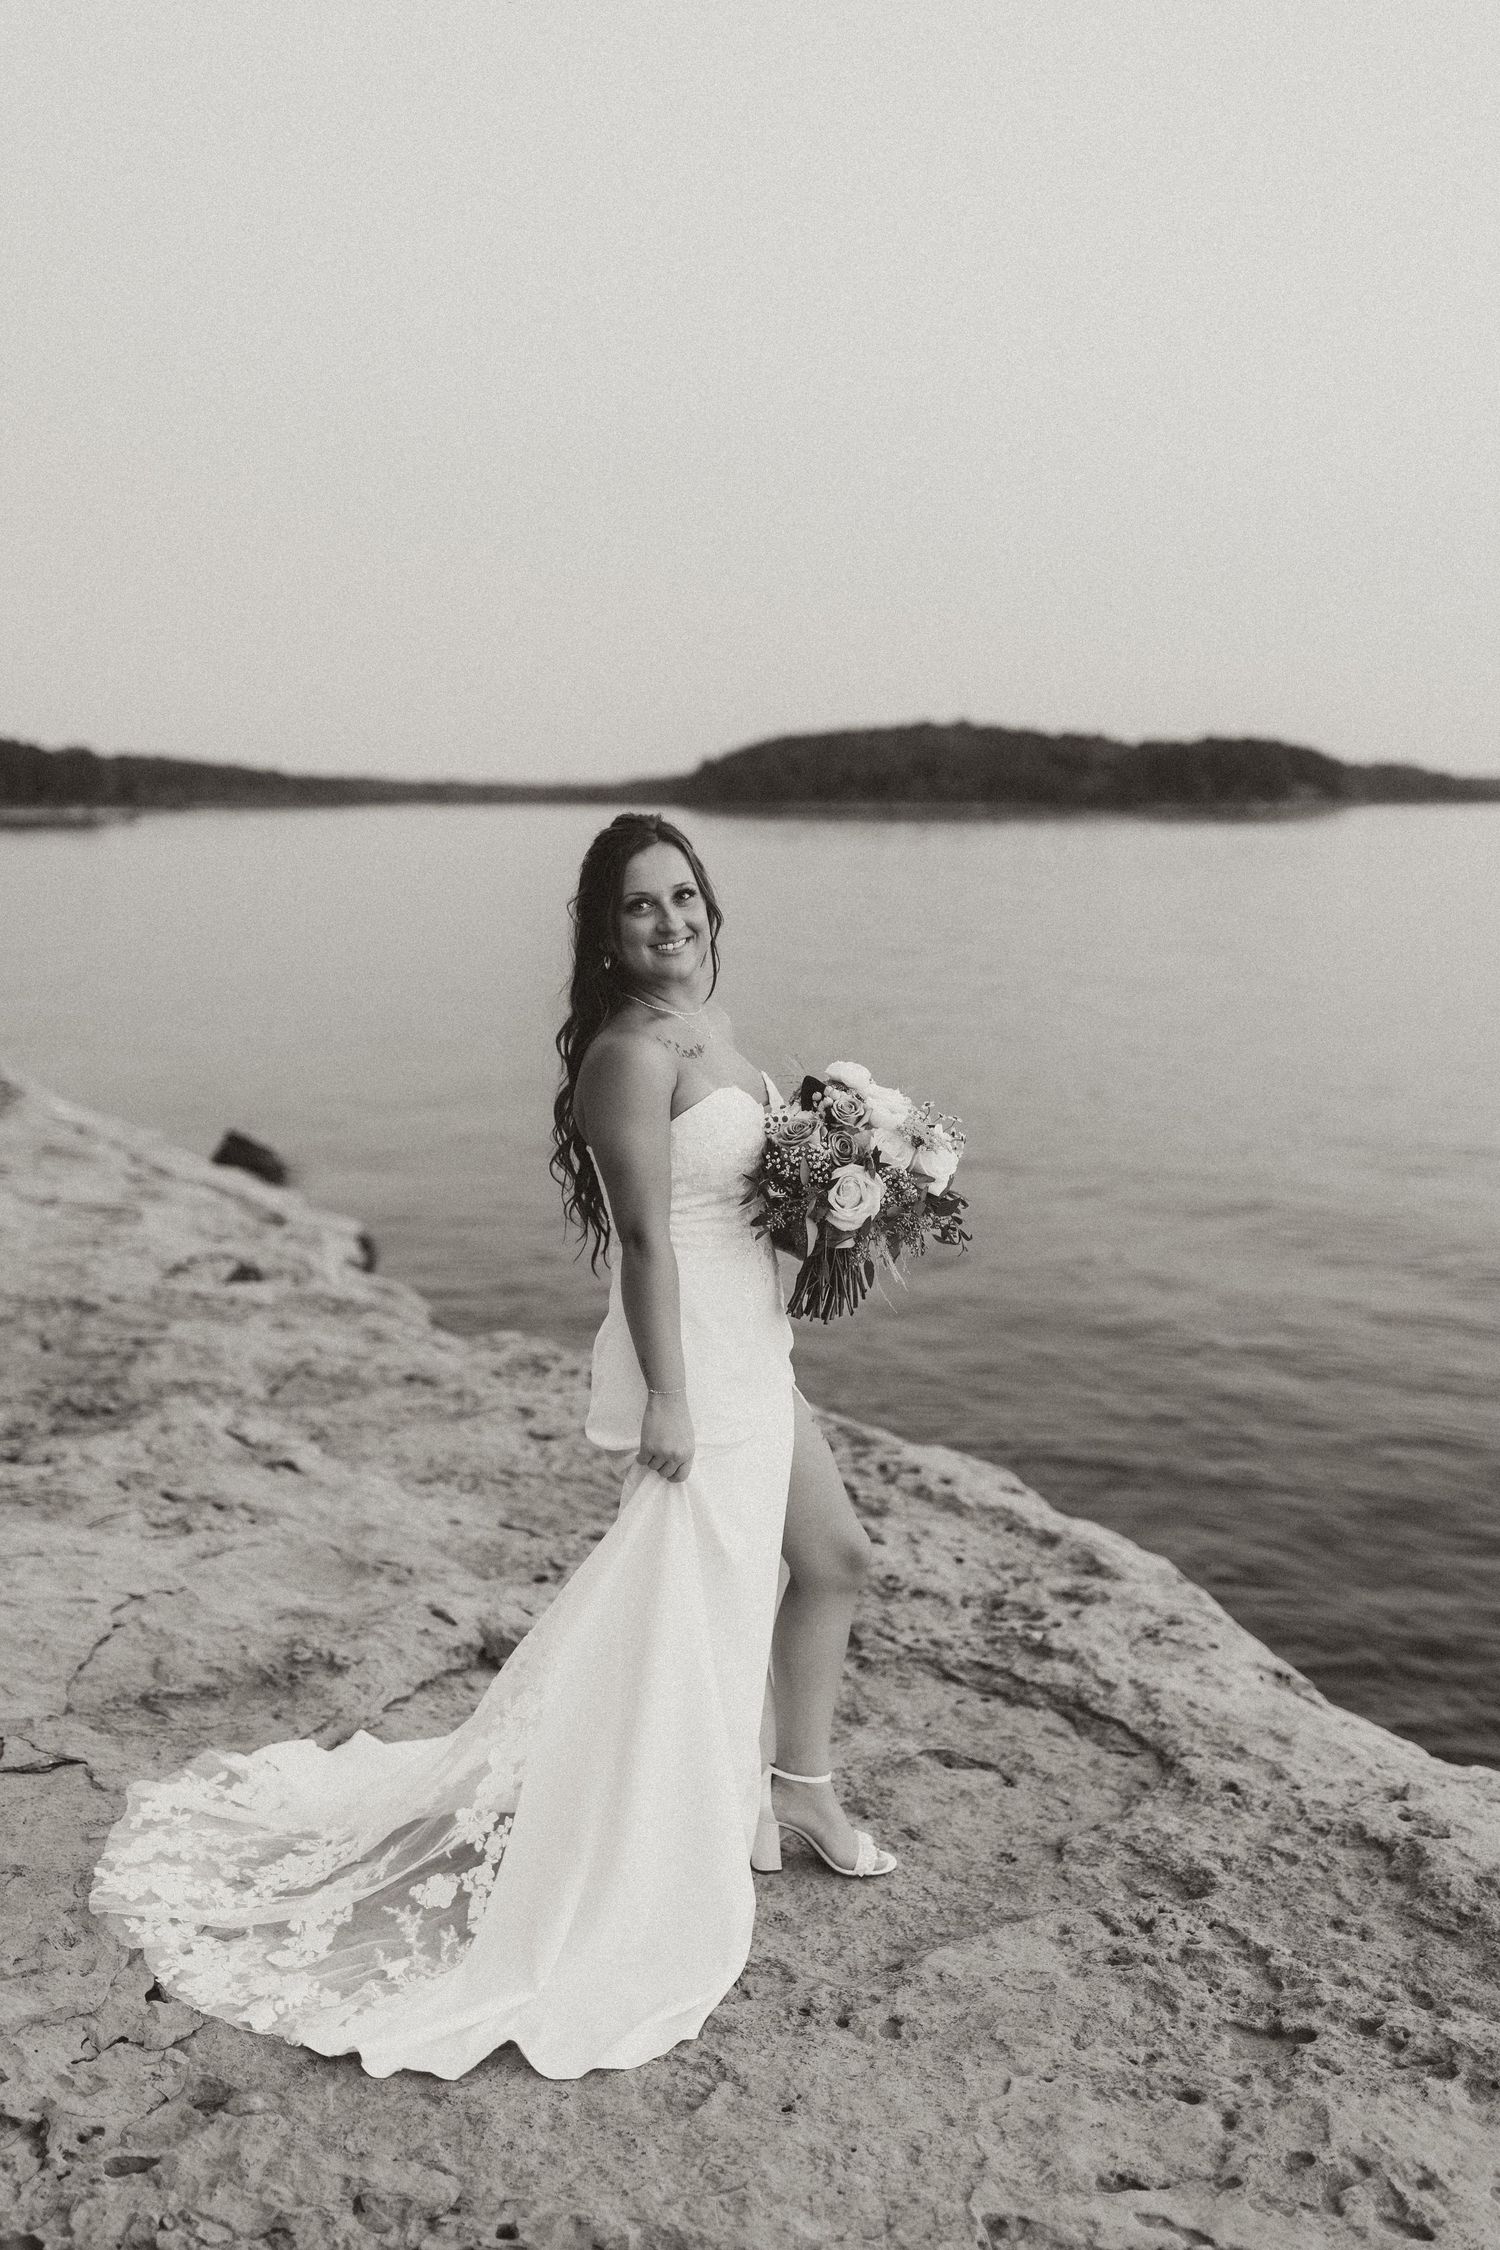
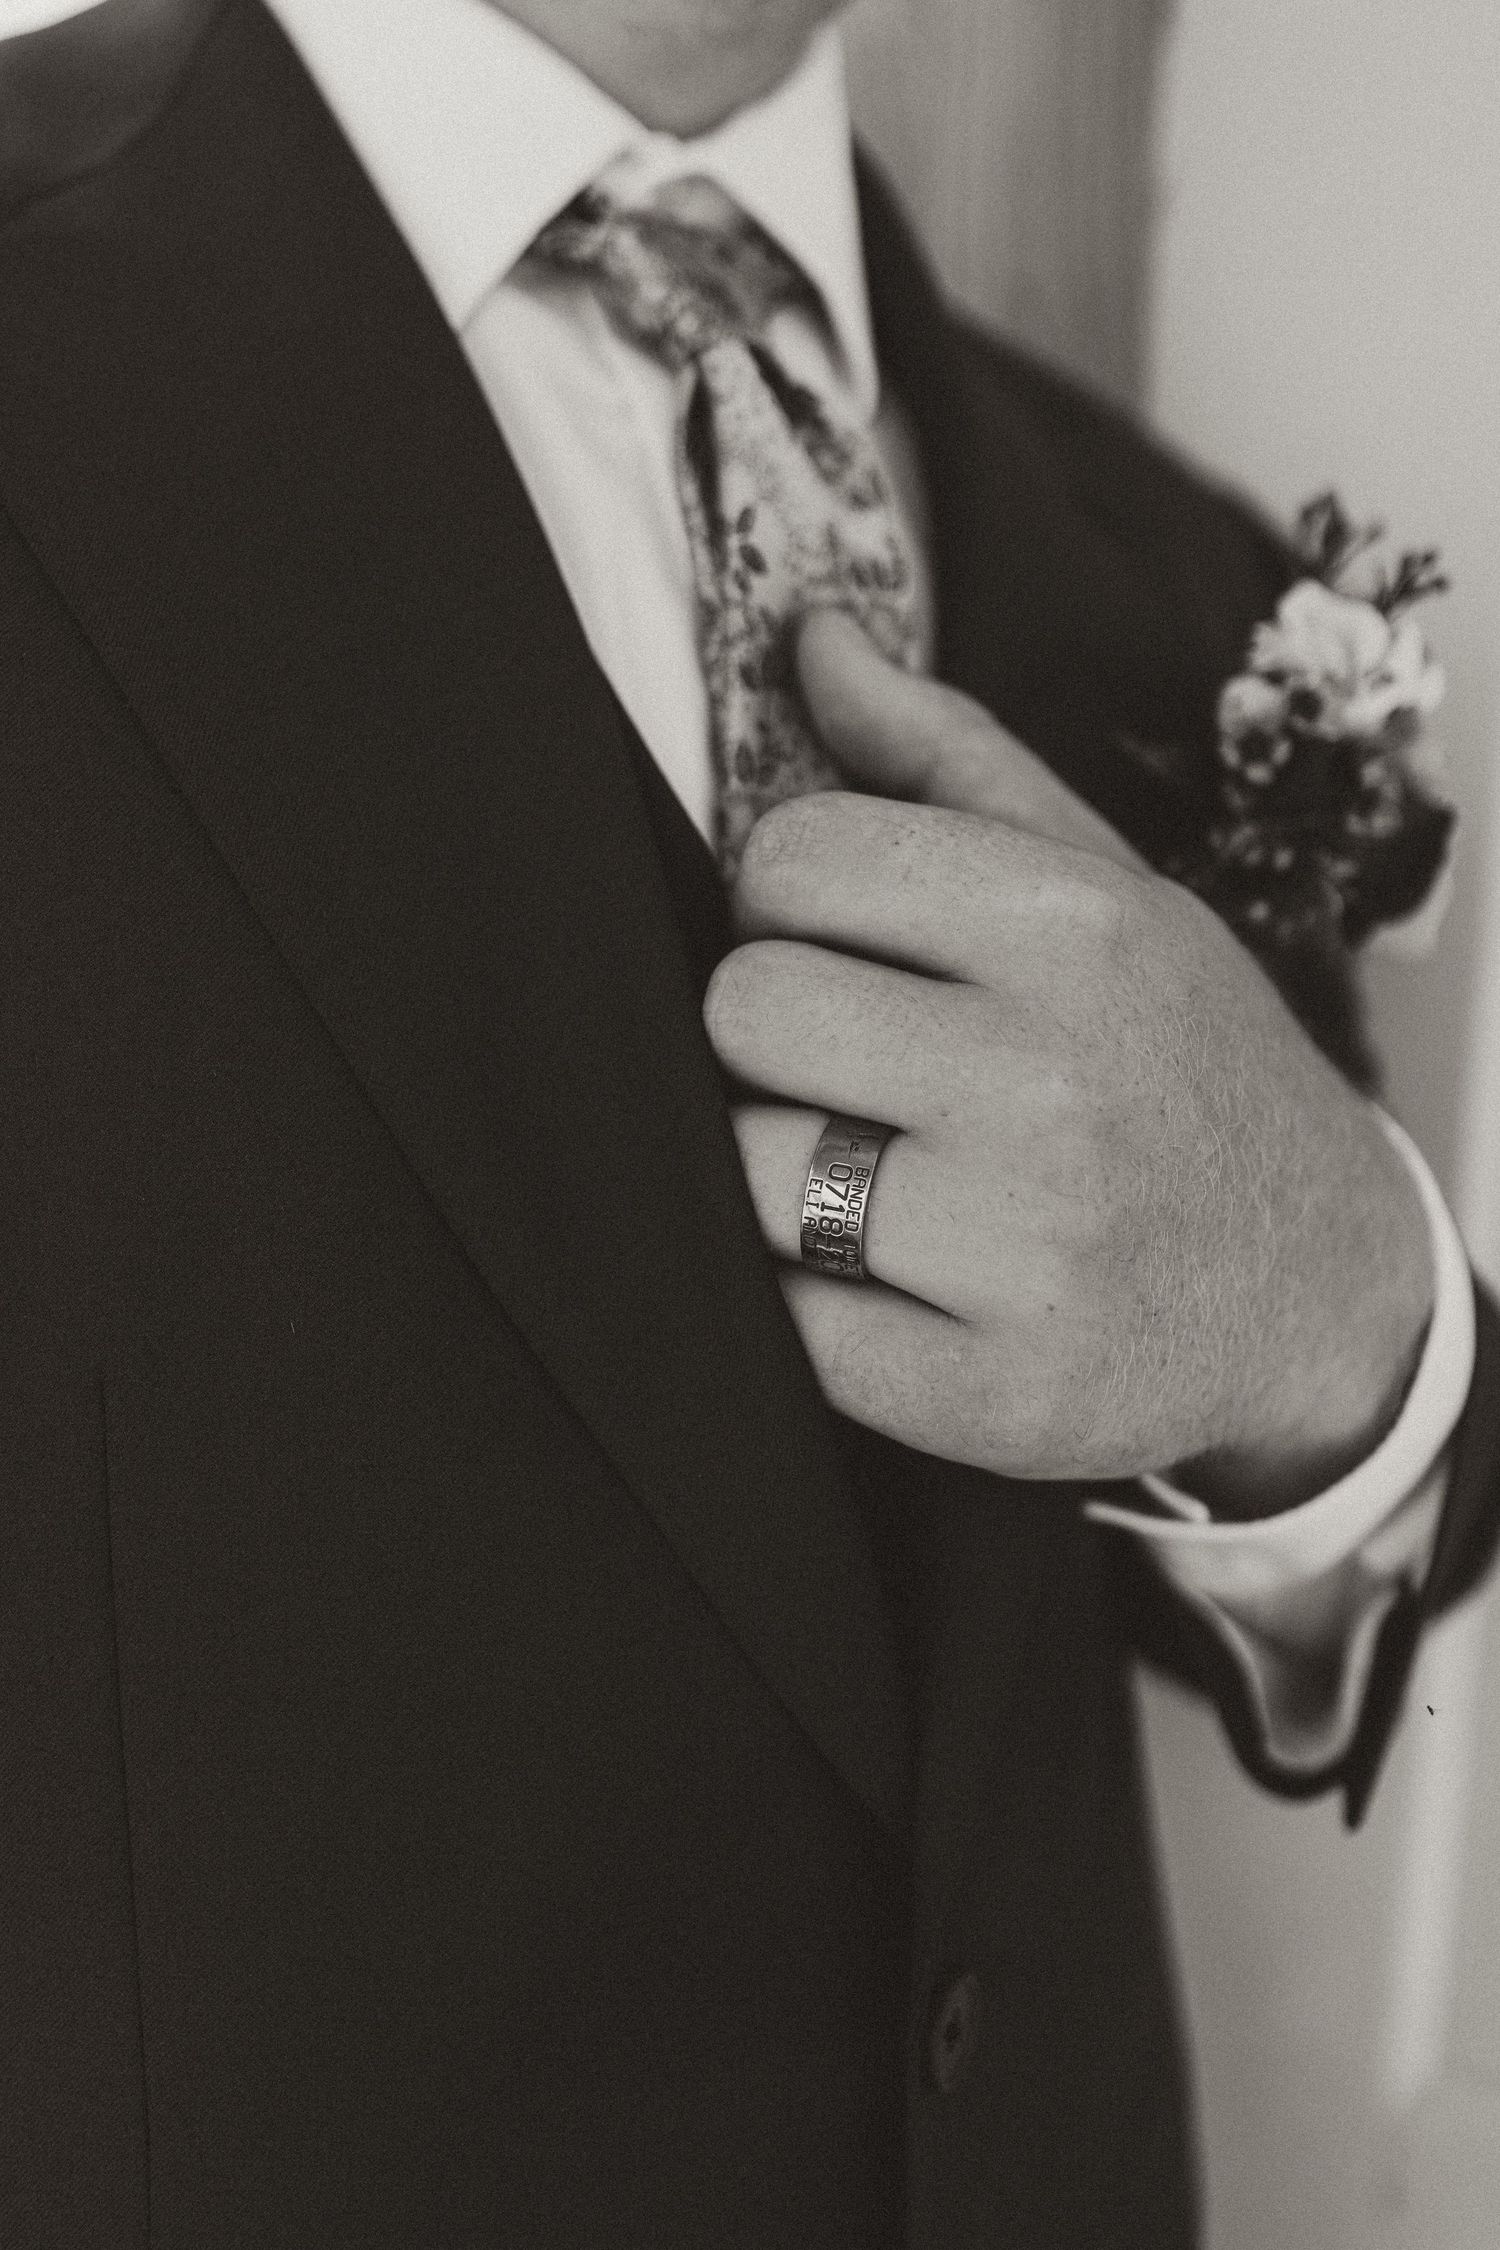
You're getting married!! Woohoo!!
Your Experience & What’s Included
Below you’ll find a breakdown of what I offer, along with thoughtful guidance to help your wedding day unfold naturally and beautifully. Every detail is designed to support your experience and tell your story with intention.
Wedding COLLECTIONS
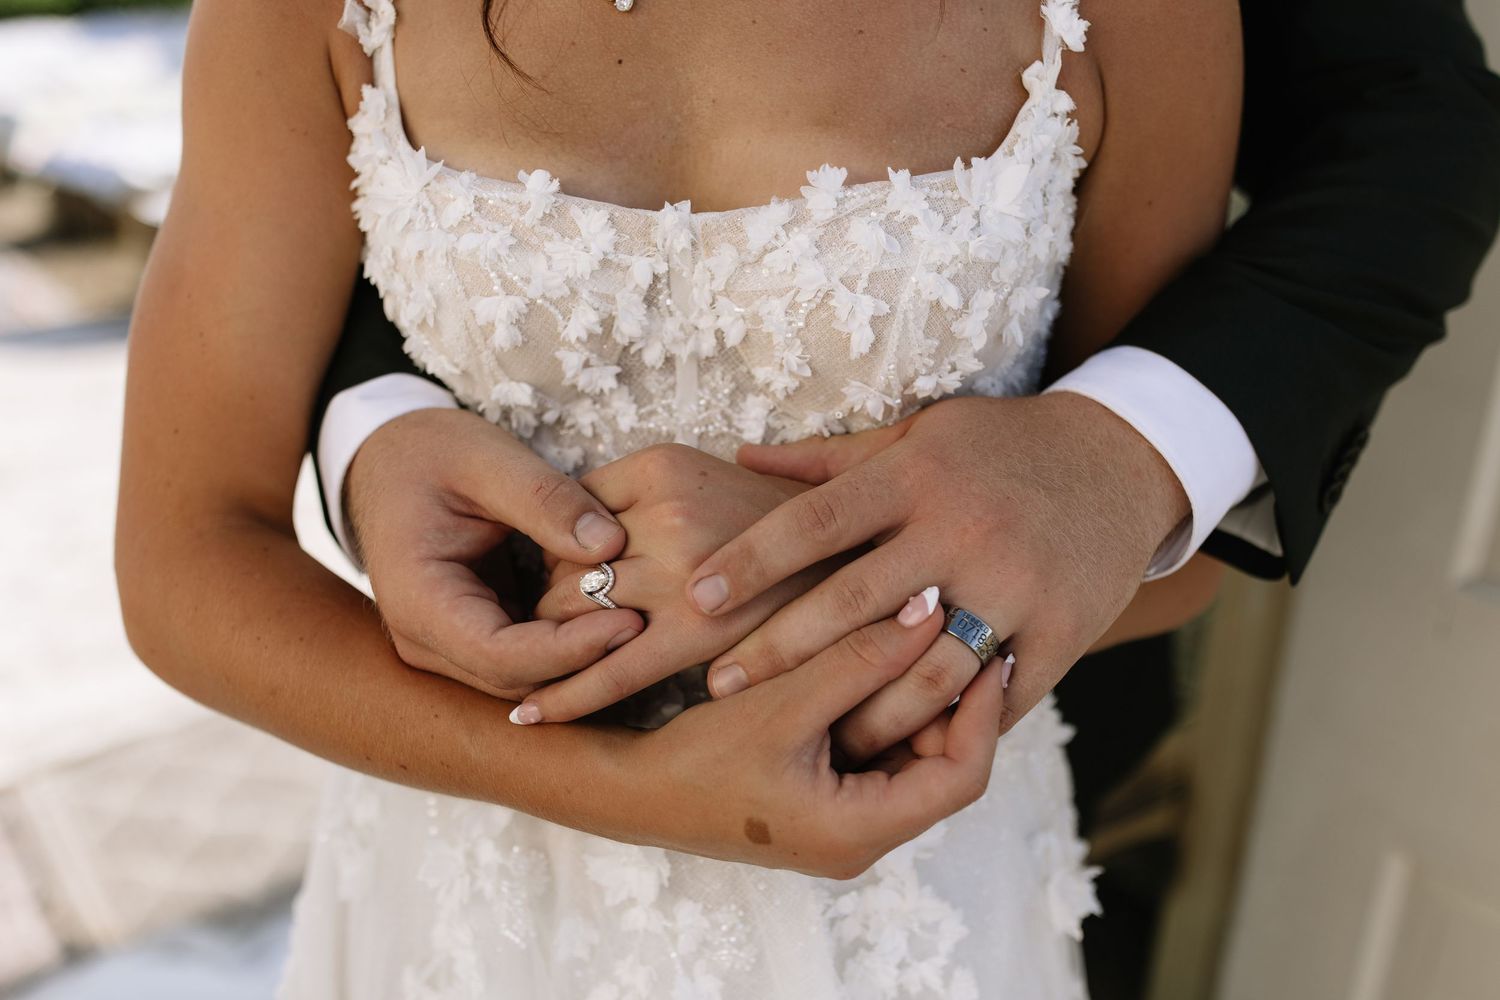
collection one
Up to 4 Hours of Coverage
Perfect for intimate weddings, elopements, or shorter celebrations.
Minimum of 150 professionally edited images
Online gallery for viewing + downloading
4–6 week turnaround time
Sneak peeks delivered within 24–48 hours
Optional complimentary 30 minute engagement session
Starting at $1,250
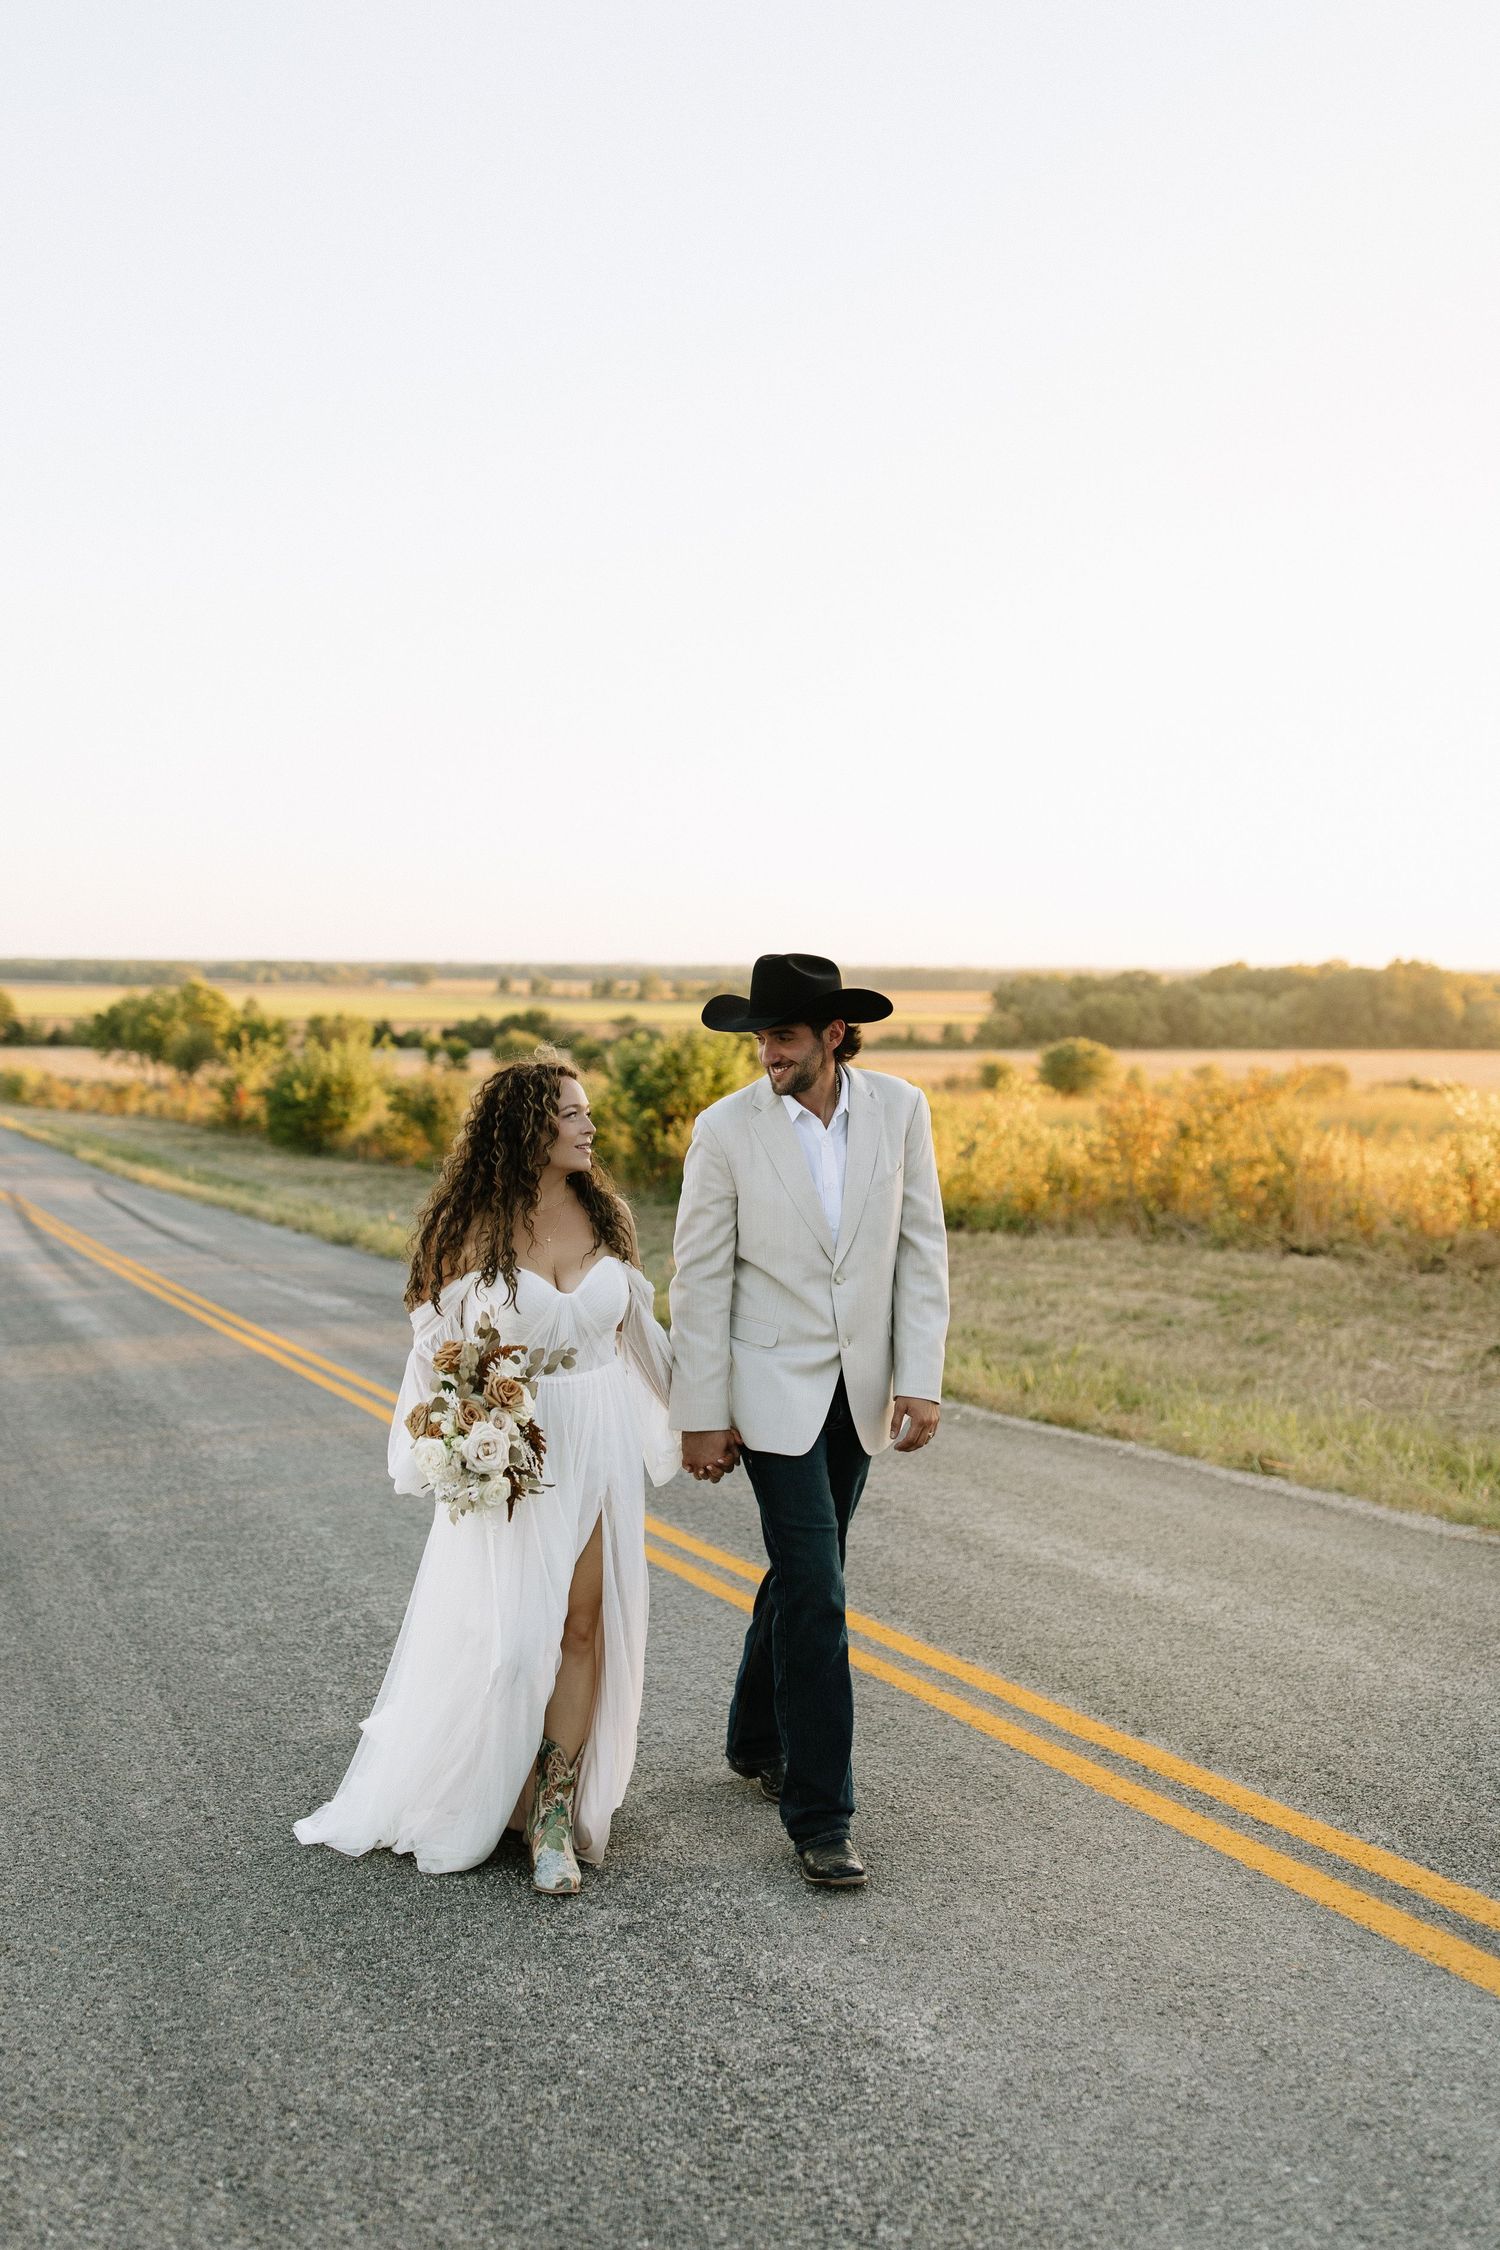
Collection two
Up to 6 Hours of Coverage
A great option for capturing the most meaningful parts of your day.
Minimum of 250 professionally edited images
Online gallery for viewing + downloading
4–6 week turnaround time
Sneak peeks delivered within 24–48 hours
Optional complimentary 30 minute engagement session
Starting at $1,750
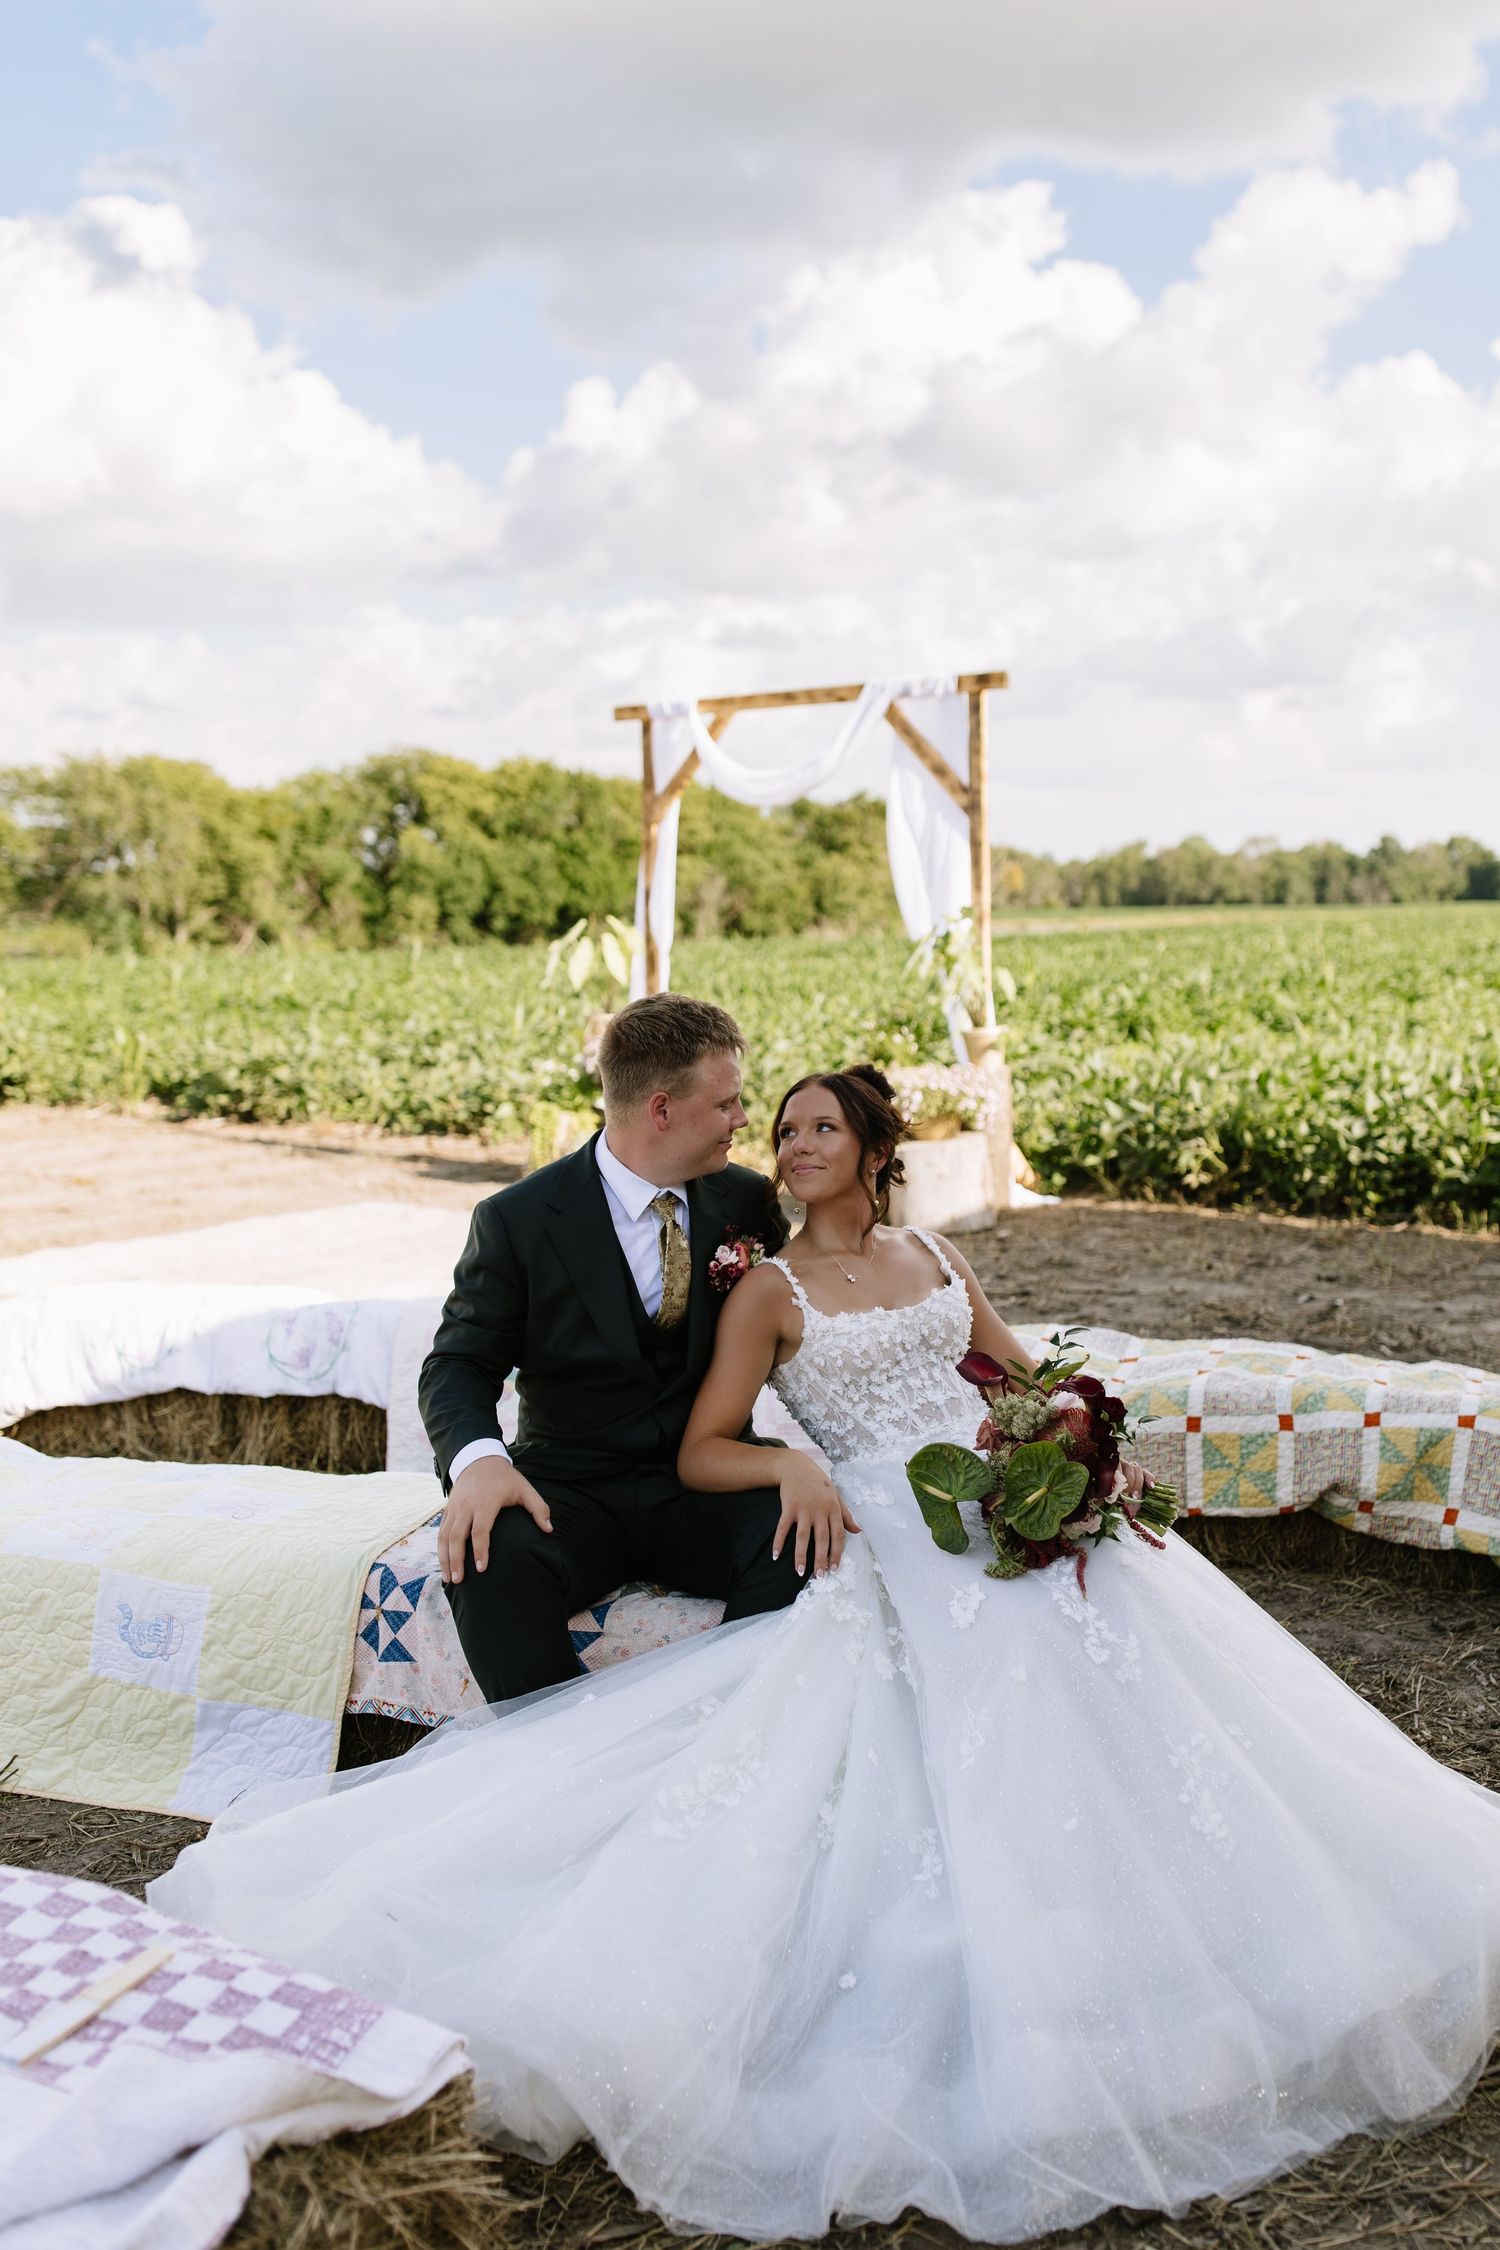
collection three
Up to 8 Hours of Coverage
Ideal for full-day storytelling from getting ready to reception moments.
Minimum of 350 professionally edited images
Online gallery for viewing + downloading
4–6 week turnaround time
Sneak peeks delivered within 24–48 hours
Optional complimentary 30 minute engagement session
Starting at $2,250
add ons
Additional Coverage
Need a little extra time to capture more of your day? Additional hours can be added to any collection.
$350 PER HOUR
A Few Lucky Details
Retainers
To secure your date, a 30% retainer is required at the time of booking, with the remaining balance due the day before your wedding day.
Retainers can be paid via Venmo (@maddyklinksick). Once you’re ready, reach out and we’ll finalize your collection and total before payment is sent.
Travel Fees
I am available for travel for weddings near and far. Travel fees vary based on location and will be customized for your day.

THE BRIDE GUIDE
There’s a lot that goes into a wedding day, and having a little guidance can make all the difference. This is a collection of tips, insight, and things I’ve learned along the way to help your day feel natural, smooth, and exactly how it should.
Timeline tips
A couple of months before your wedding, I’ll send over a wedding day timeline questionnaire. This will help me build a custom timeline that fits your day perfectly—while also allowing plenty of time for photos.
The biggest thing to keep in mind when planning your timeline is to leave a little extra room. Wedding days naturally come with small delays or unexpected moments, so building in buffer time helps everything feel relaxed instead of rushed. When there’s space to breathe, you’re able to be more present and truly enjoy each part of your day.
Below, you’ll find a sample timeline to help guide you. I’ve included options for both a first look and a more traditional timeline without one, so you can choose what feels right for you.
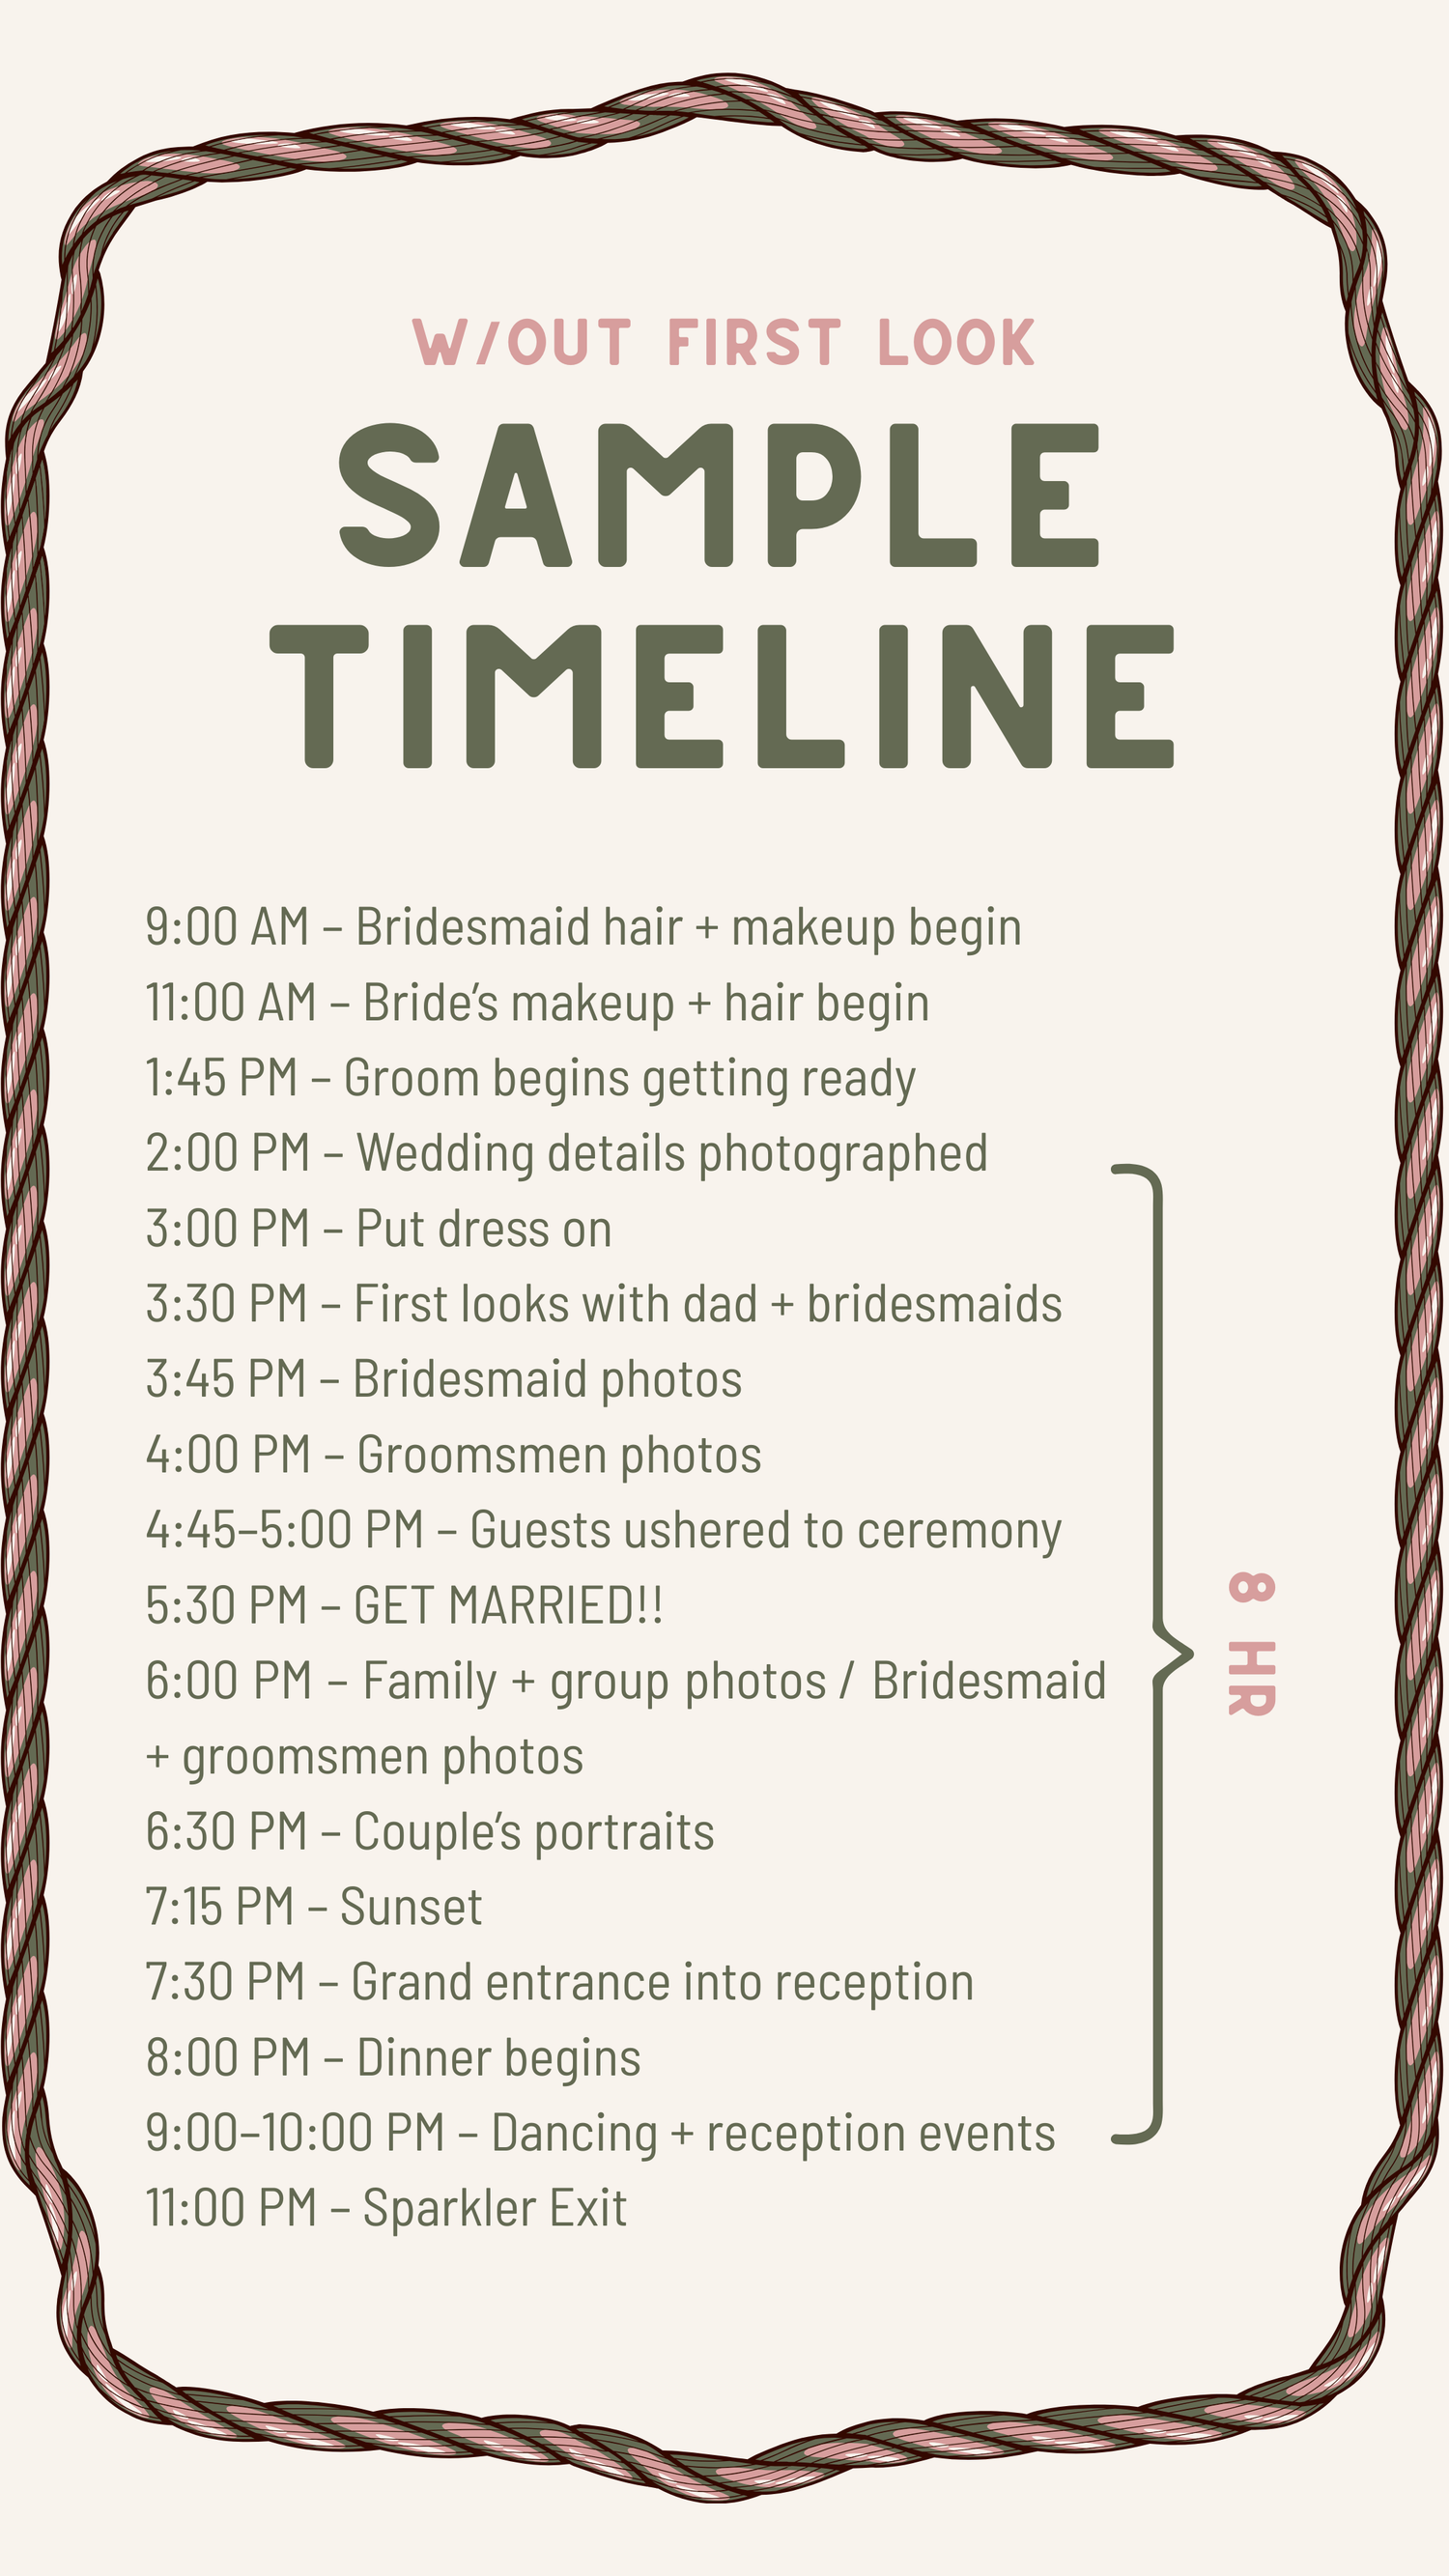
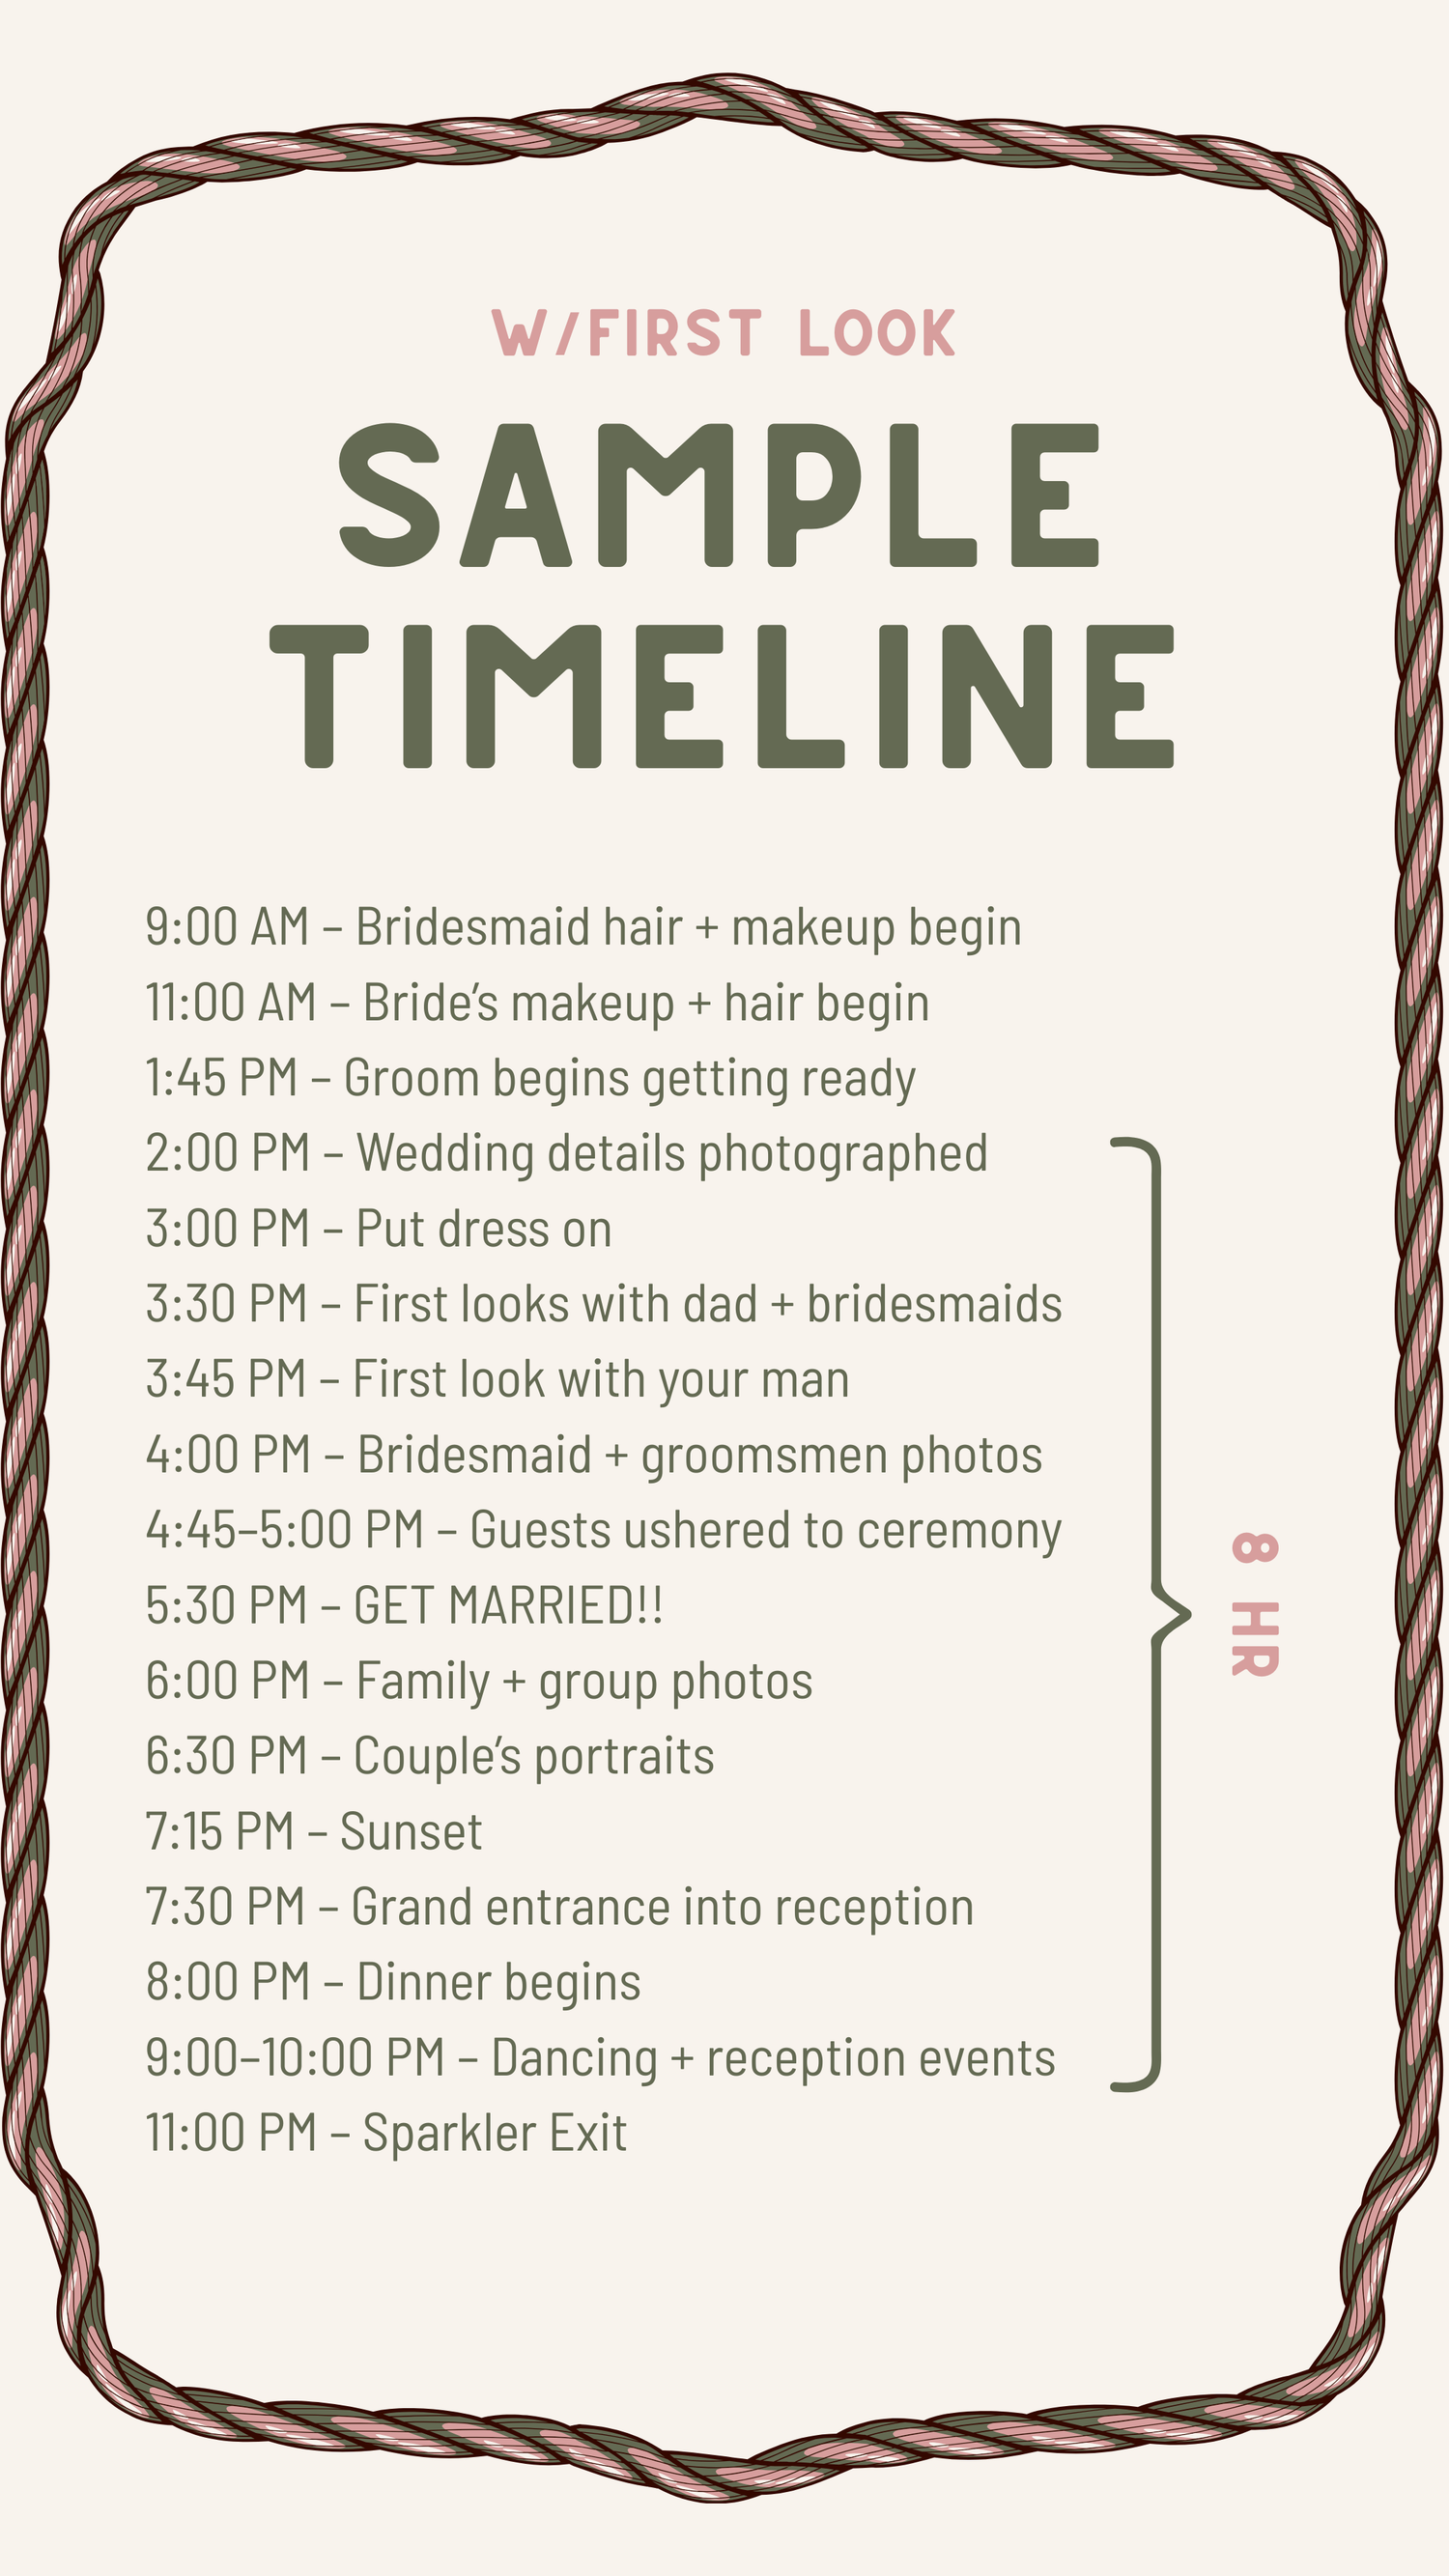
**Each timeline will be different depending on sunset.
Getting Ready
The Details
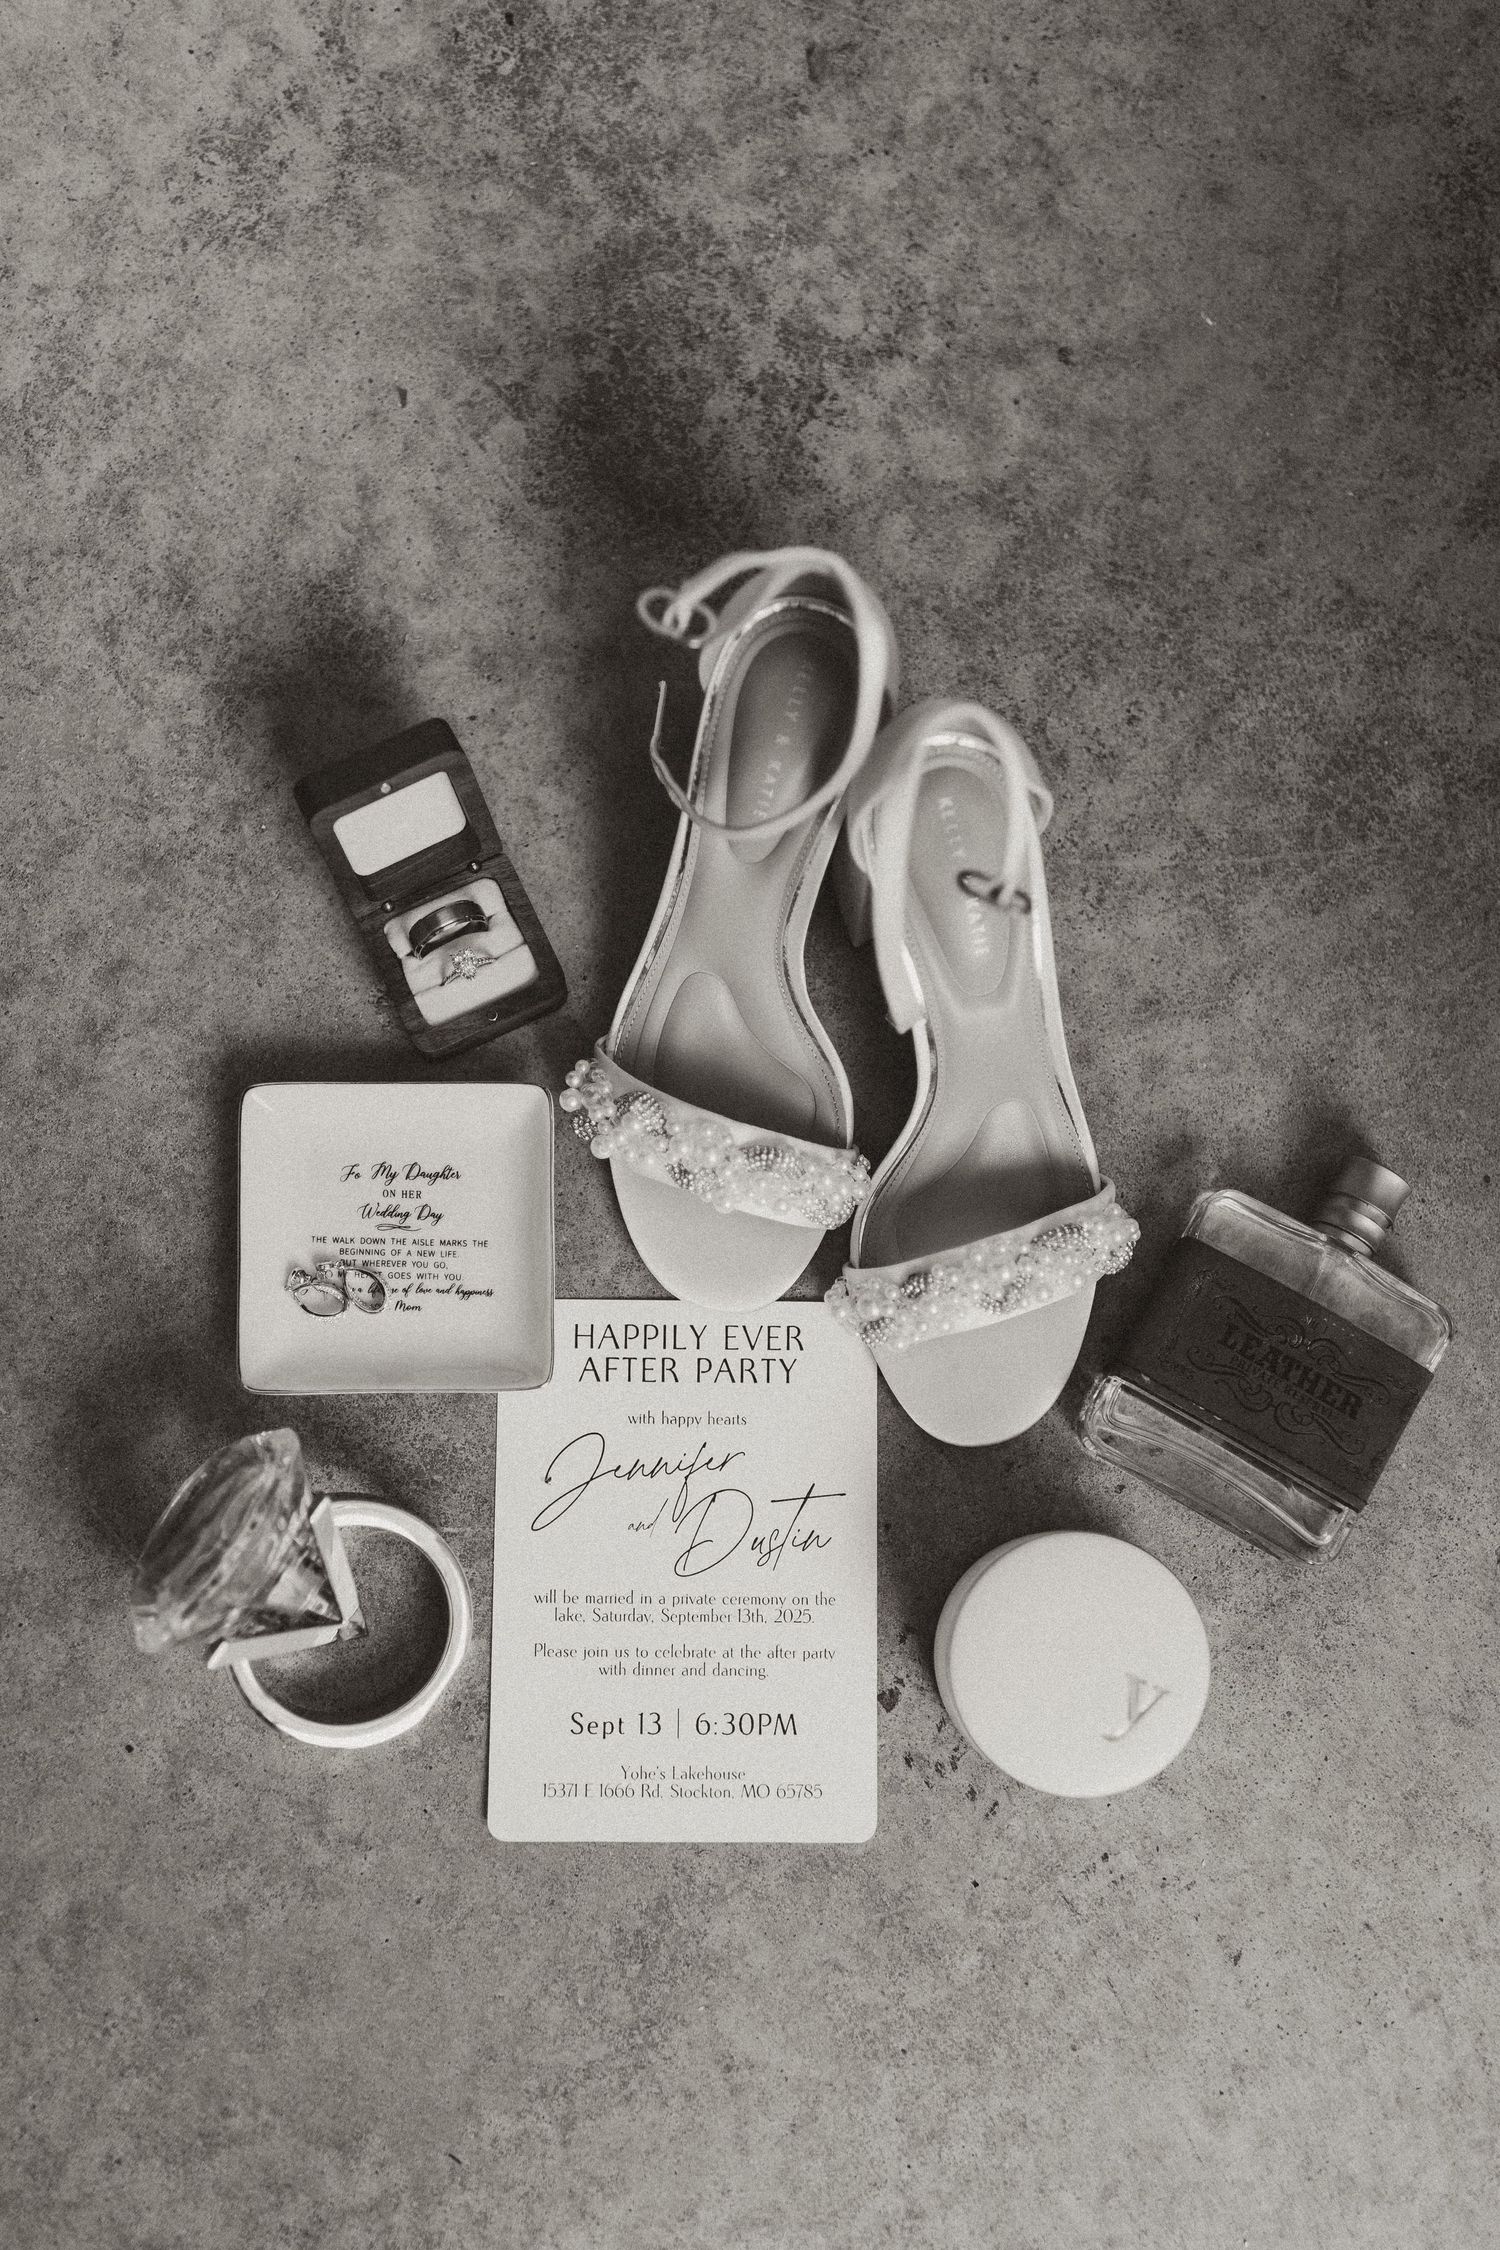
From the moment I arrive, please have the following items ready for me—these will be used for your detail shots.
A little tip:
Place everything together in one spot (a shoebox works perfectly!). Keep your items in one box and your groom’s in another. If you’re getting ready at separate locations, make sure all rings stay with the bridal details—including your groom’s ring.
HIS:
Shoes, ring, ring box, bowtie or tie, tie clip, pocket square, watch, cufflinks, vow book—anything that feels like him
HERS:
Invitation suite, shoes, ring(s), ring box, bracelets, earrings, necklace, hair pieces, vow book, perfume—anything that feels like you
A few extra little touches:
- If there are any sentimental or textured pieces you love, bring them along. Think lace from your mama’s dress, a piece of denim, a bandana, dried florals, pretty rocks from a special place… those meaningful little things photograph so beautifully and add depth to your story.
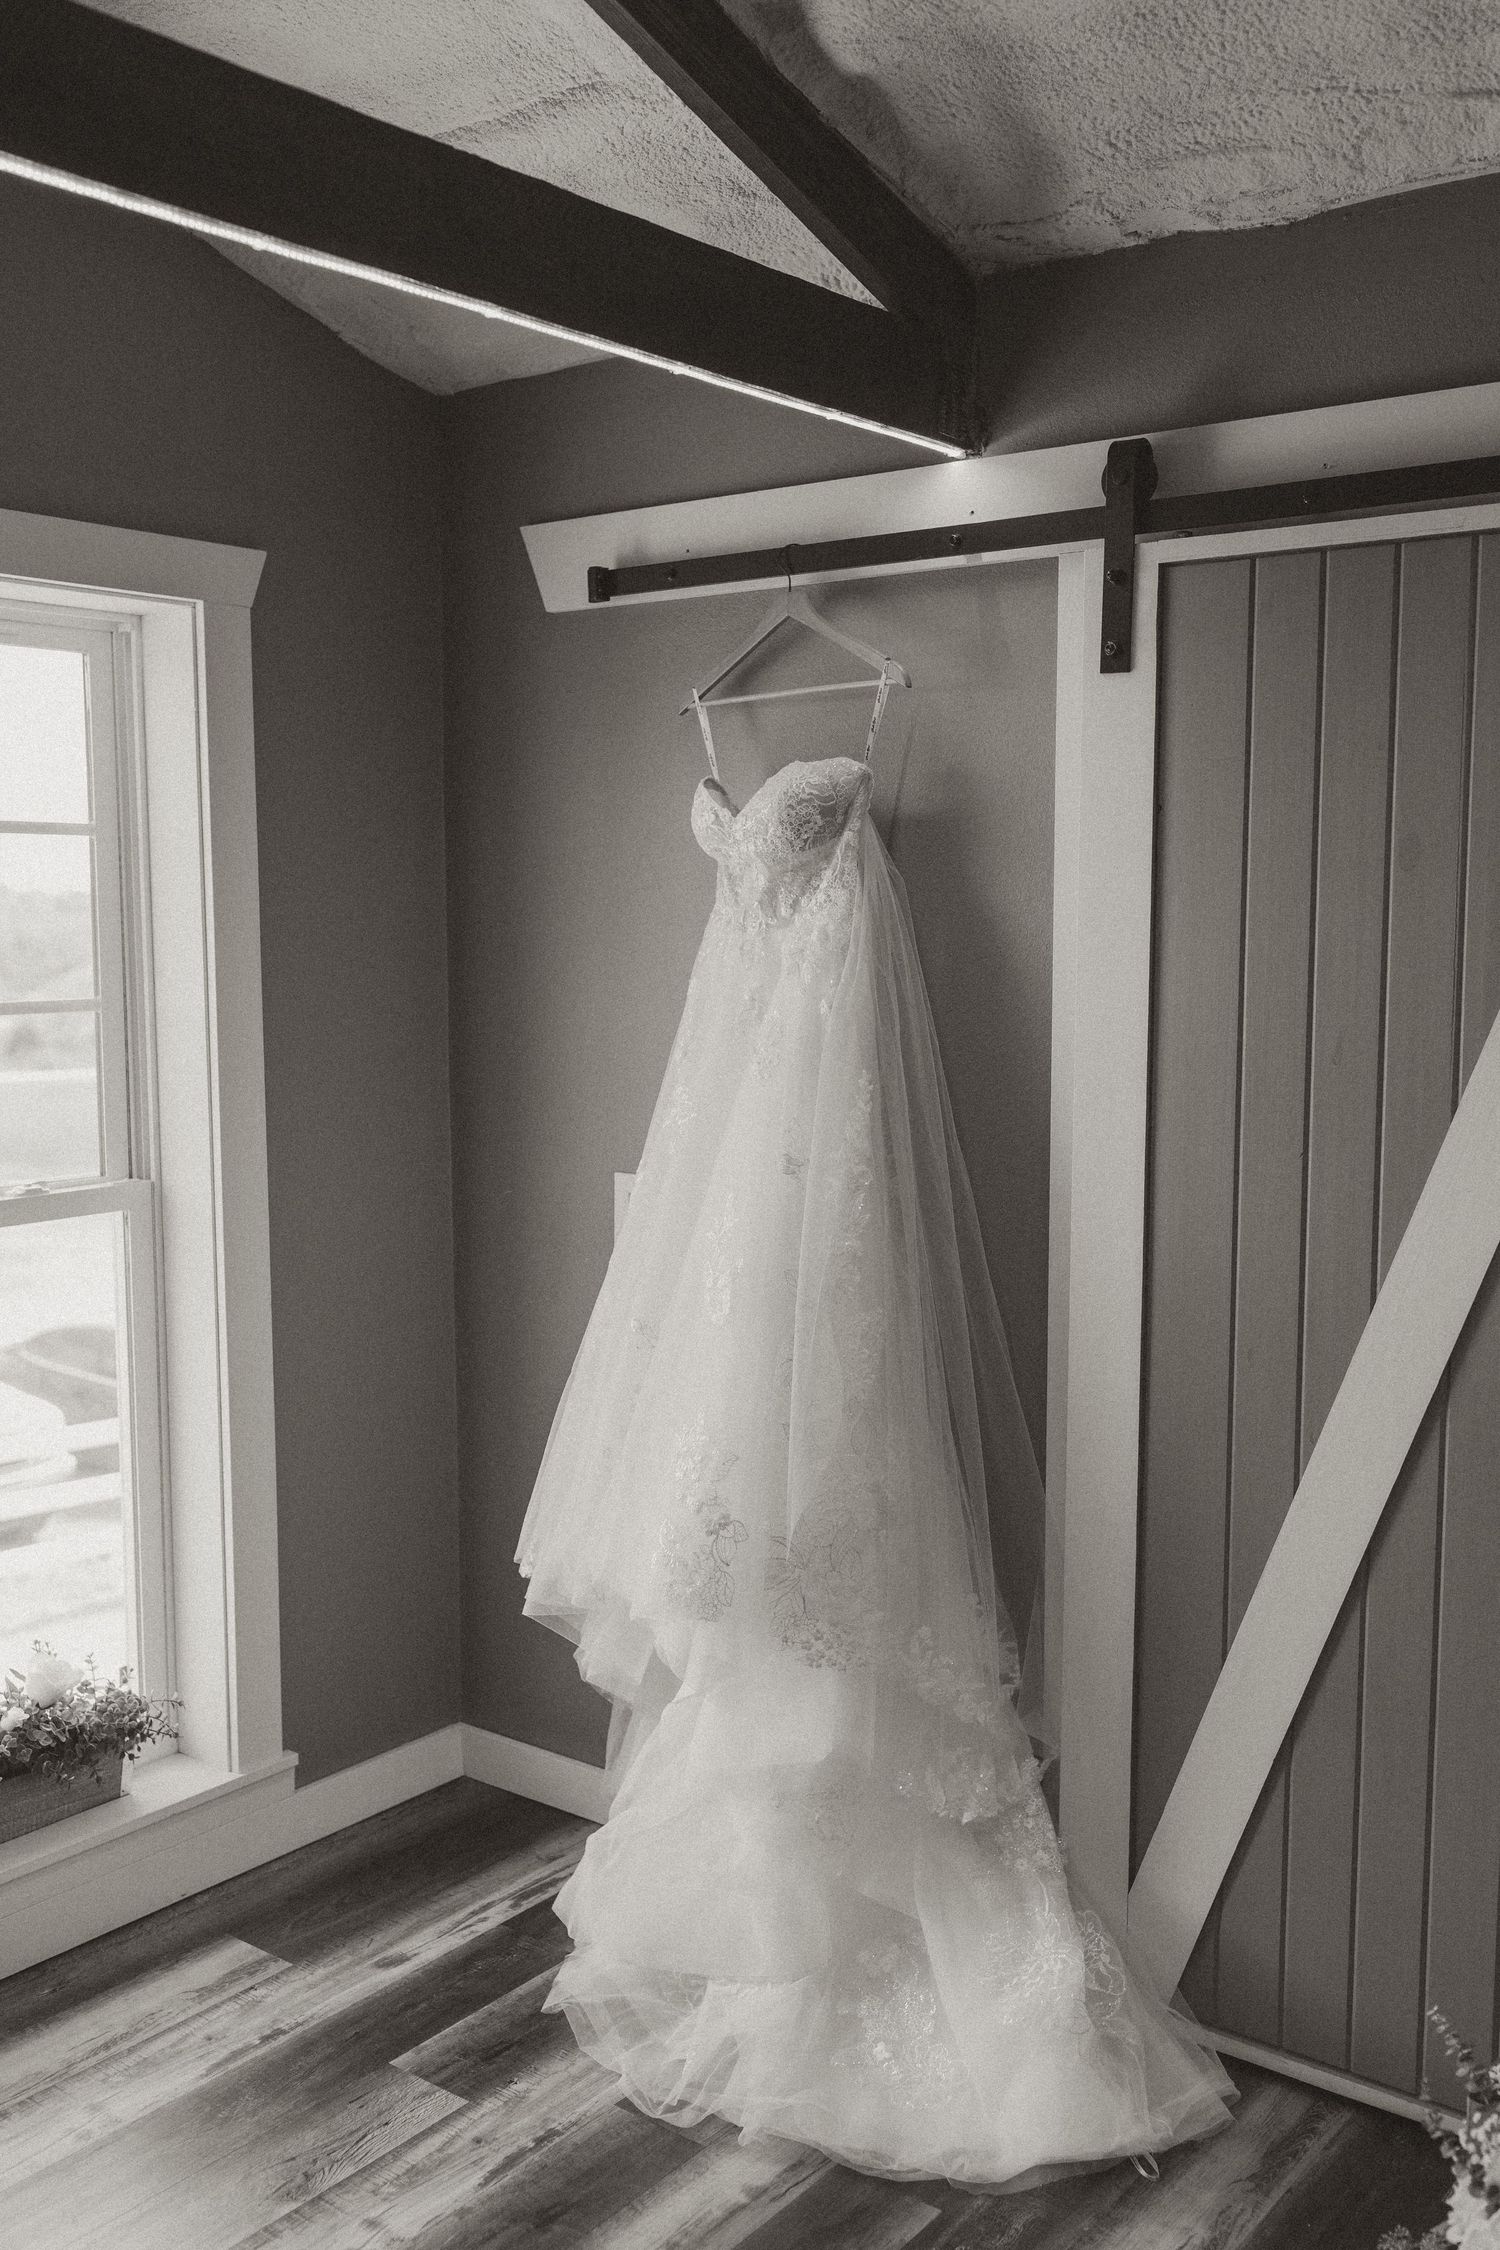
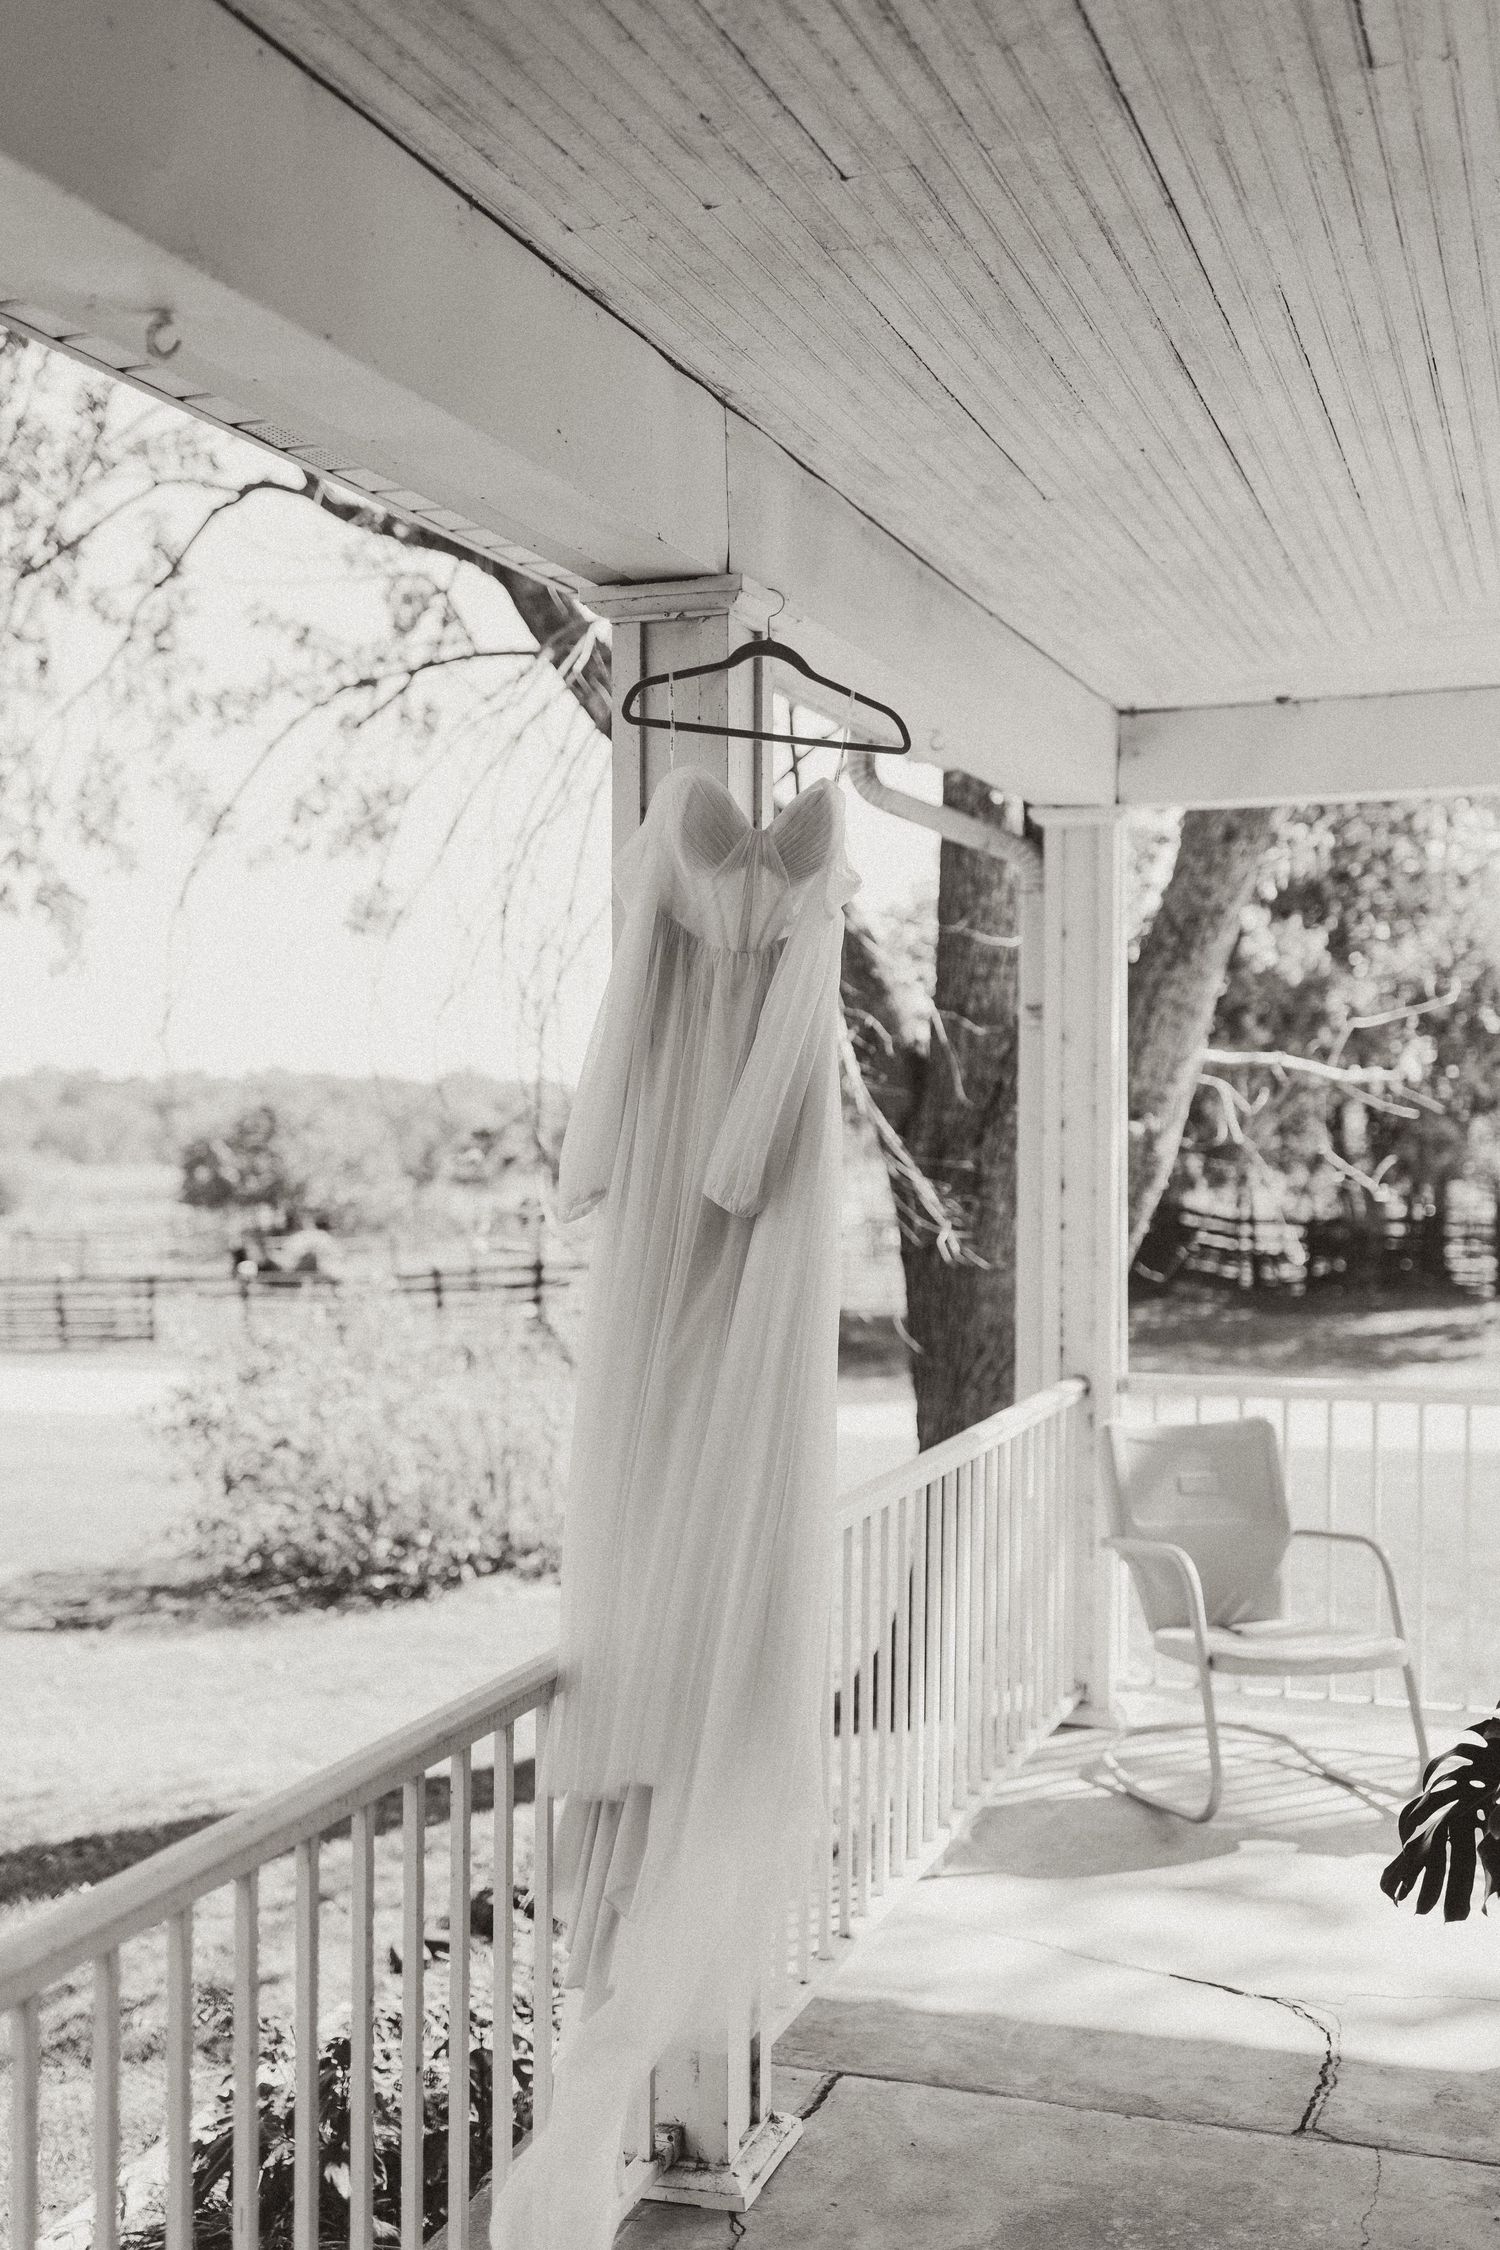
- Have your dress hanging on a cute hanger. If you don’t have a special hanger, don’t worry one bit—a classic wooden hanger fits right in.
- I love weaving florals into your details whenever I can. If your bouquet is nearby when I arrive, I’ll gently incorporate it into your shots.
These are the quiet, in-between moments—the details that might seem small now, but will mean the world when you’re looking back years from now. Kinda like a worn-in pair of boots or a good sunset… simple, but full of feeling
The Ceremony
When it comes to your ceremony time, I always recommend starting about two hours before sunset. You can easily look up sunset on your wedding day with a quick Google search!
There’s a reason for this timing—and it’s a good one. That soft, golden light leading into sunset is everything. Starting your ceremony a couple hours before gives us plenty of breathing room to move through your formal photos without rushing. We’ll capture your family, your people, your bridesmaids and groomsmen, and then ease right into those just-married portraits as the sun starts to dip low.
It’s that sweet spot in the day—the light gets softer, the pace slows down, and you finally get a quiet moment together. Kinda like a good evening out in the pasture… calm, golden, and full of feeling.
Some tips to keep in mind:
Tip 1:
If you’re planning an outdoor ceremony (my absolute favorite ), try to avoid the middle of the day—especially between 10 AM and 3 PM. Not only is that the hottest part of the day, but the sun is sitting right overhead, which creates harsh shadows under the eyes (“raccoon eyes”) and under the nose (yep… “shadow mustaches” are a real thing lol).
Choosing a later ceremony time, when the sun is lower in the sky, gives you softer light, more flattering skin tones, and those dreamy, glowy landscapes. The ideal window is about 2–3 hours before sunset.
Tip 2:
When thinking about how your ceremony is positioned, here’s a simple way to look at it—the sun should be setting behind the officiant.
That means you, your groom, and your entire wedding party won’t be staring directly into the sun (no squinting, no harsh shadows). Instead, you’ll be evenly lit in the most flattering way.
If the ceremony faces into the sun, it can cause squinty eyes and strong shadows across the face—which isn’t doing anyone any favors. So, think of it this way: you want the sun setting behind you.
Tip 3:
And if you’re worried about an overcast day… don’t be!
Believe it or not, cloudy skies create some of the best lighting. It’s like nature throws a giant soft filter over everything—no harsh shadows, no raccoon eyes, no shadow mustaches. Just soft, even light and creamy skin tones that photograph beautifully.
Family Photos “Formals”
Family formals take place immediately following the ceremony, so it is very important that all family members stay nearby and ready once the ceremony ends. Since I typically only have about 20 minutes for this portion of the day, having everyone organized and prepared makes a huge difference in keeping things smooth and stress-free.
PLEASE PROVIDE A DETAILED FAMILY PHOTO LIST AT LEAST 1 MONTH BEFORE THE WEDDING:
Please include all groupings of family photos you would like taken immediately after the ceremony.
Example:
Bride & Groom with Groom’s Parents (Tom & Sally Smith)
Bride & Groom with Bride’s Immediate Family (John, Mary, etc.)
This can be sent in a Word document, email, or whatever format is easiest for you! Having a list like this helps the family photo process move quickly and efficiently. The reason I ask for names specifically is to help avoid any awkward family dynamics during posing. Instead of calling out “Bride with dad & step-mom,” I will simply say, “Sarah with Tom & Sally.” This creates a smoother, more professional flow, and family members tend to respond much better when hearing their actual names.
FULL WEDDING PARTY PHOTOS
Once family photos are complete, we will move into full wedding party photos including both bridesmaids and groomsmen.
If you are doing a first look, we may choose to take wedding party photos before the ceremony instead. This often helps open up more time later in the day for couple portraits and allows for a more relaxed timeline overall.
COUPLE PORTRAITS
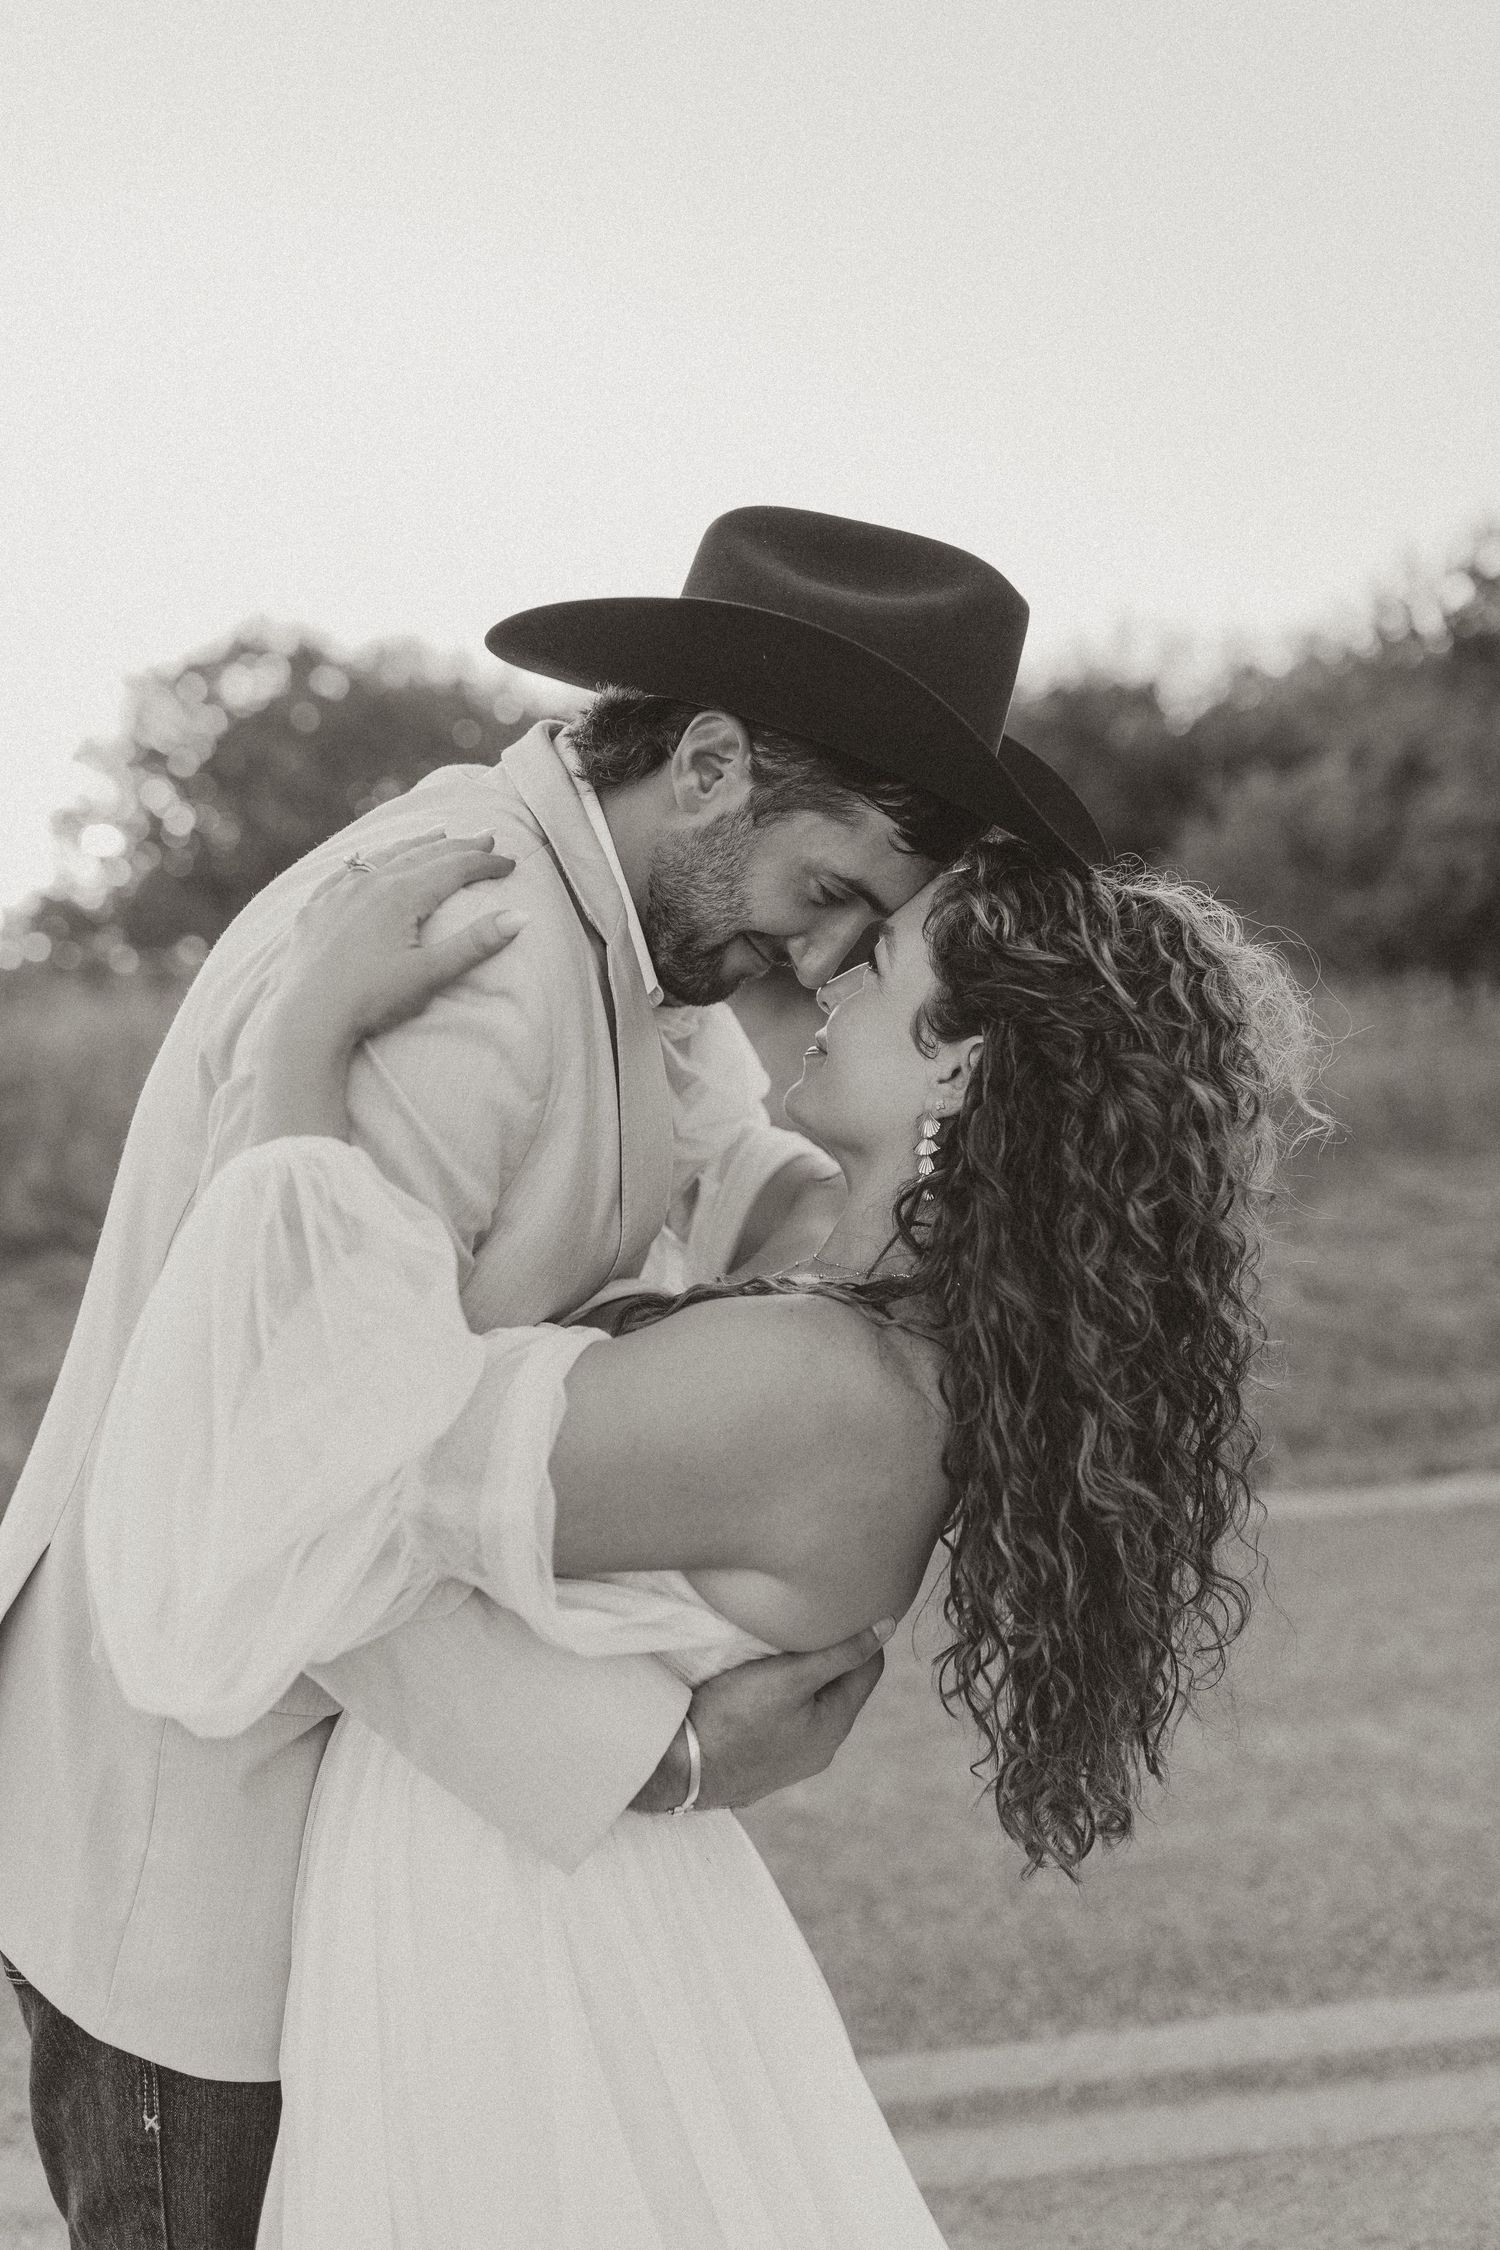
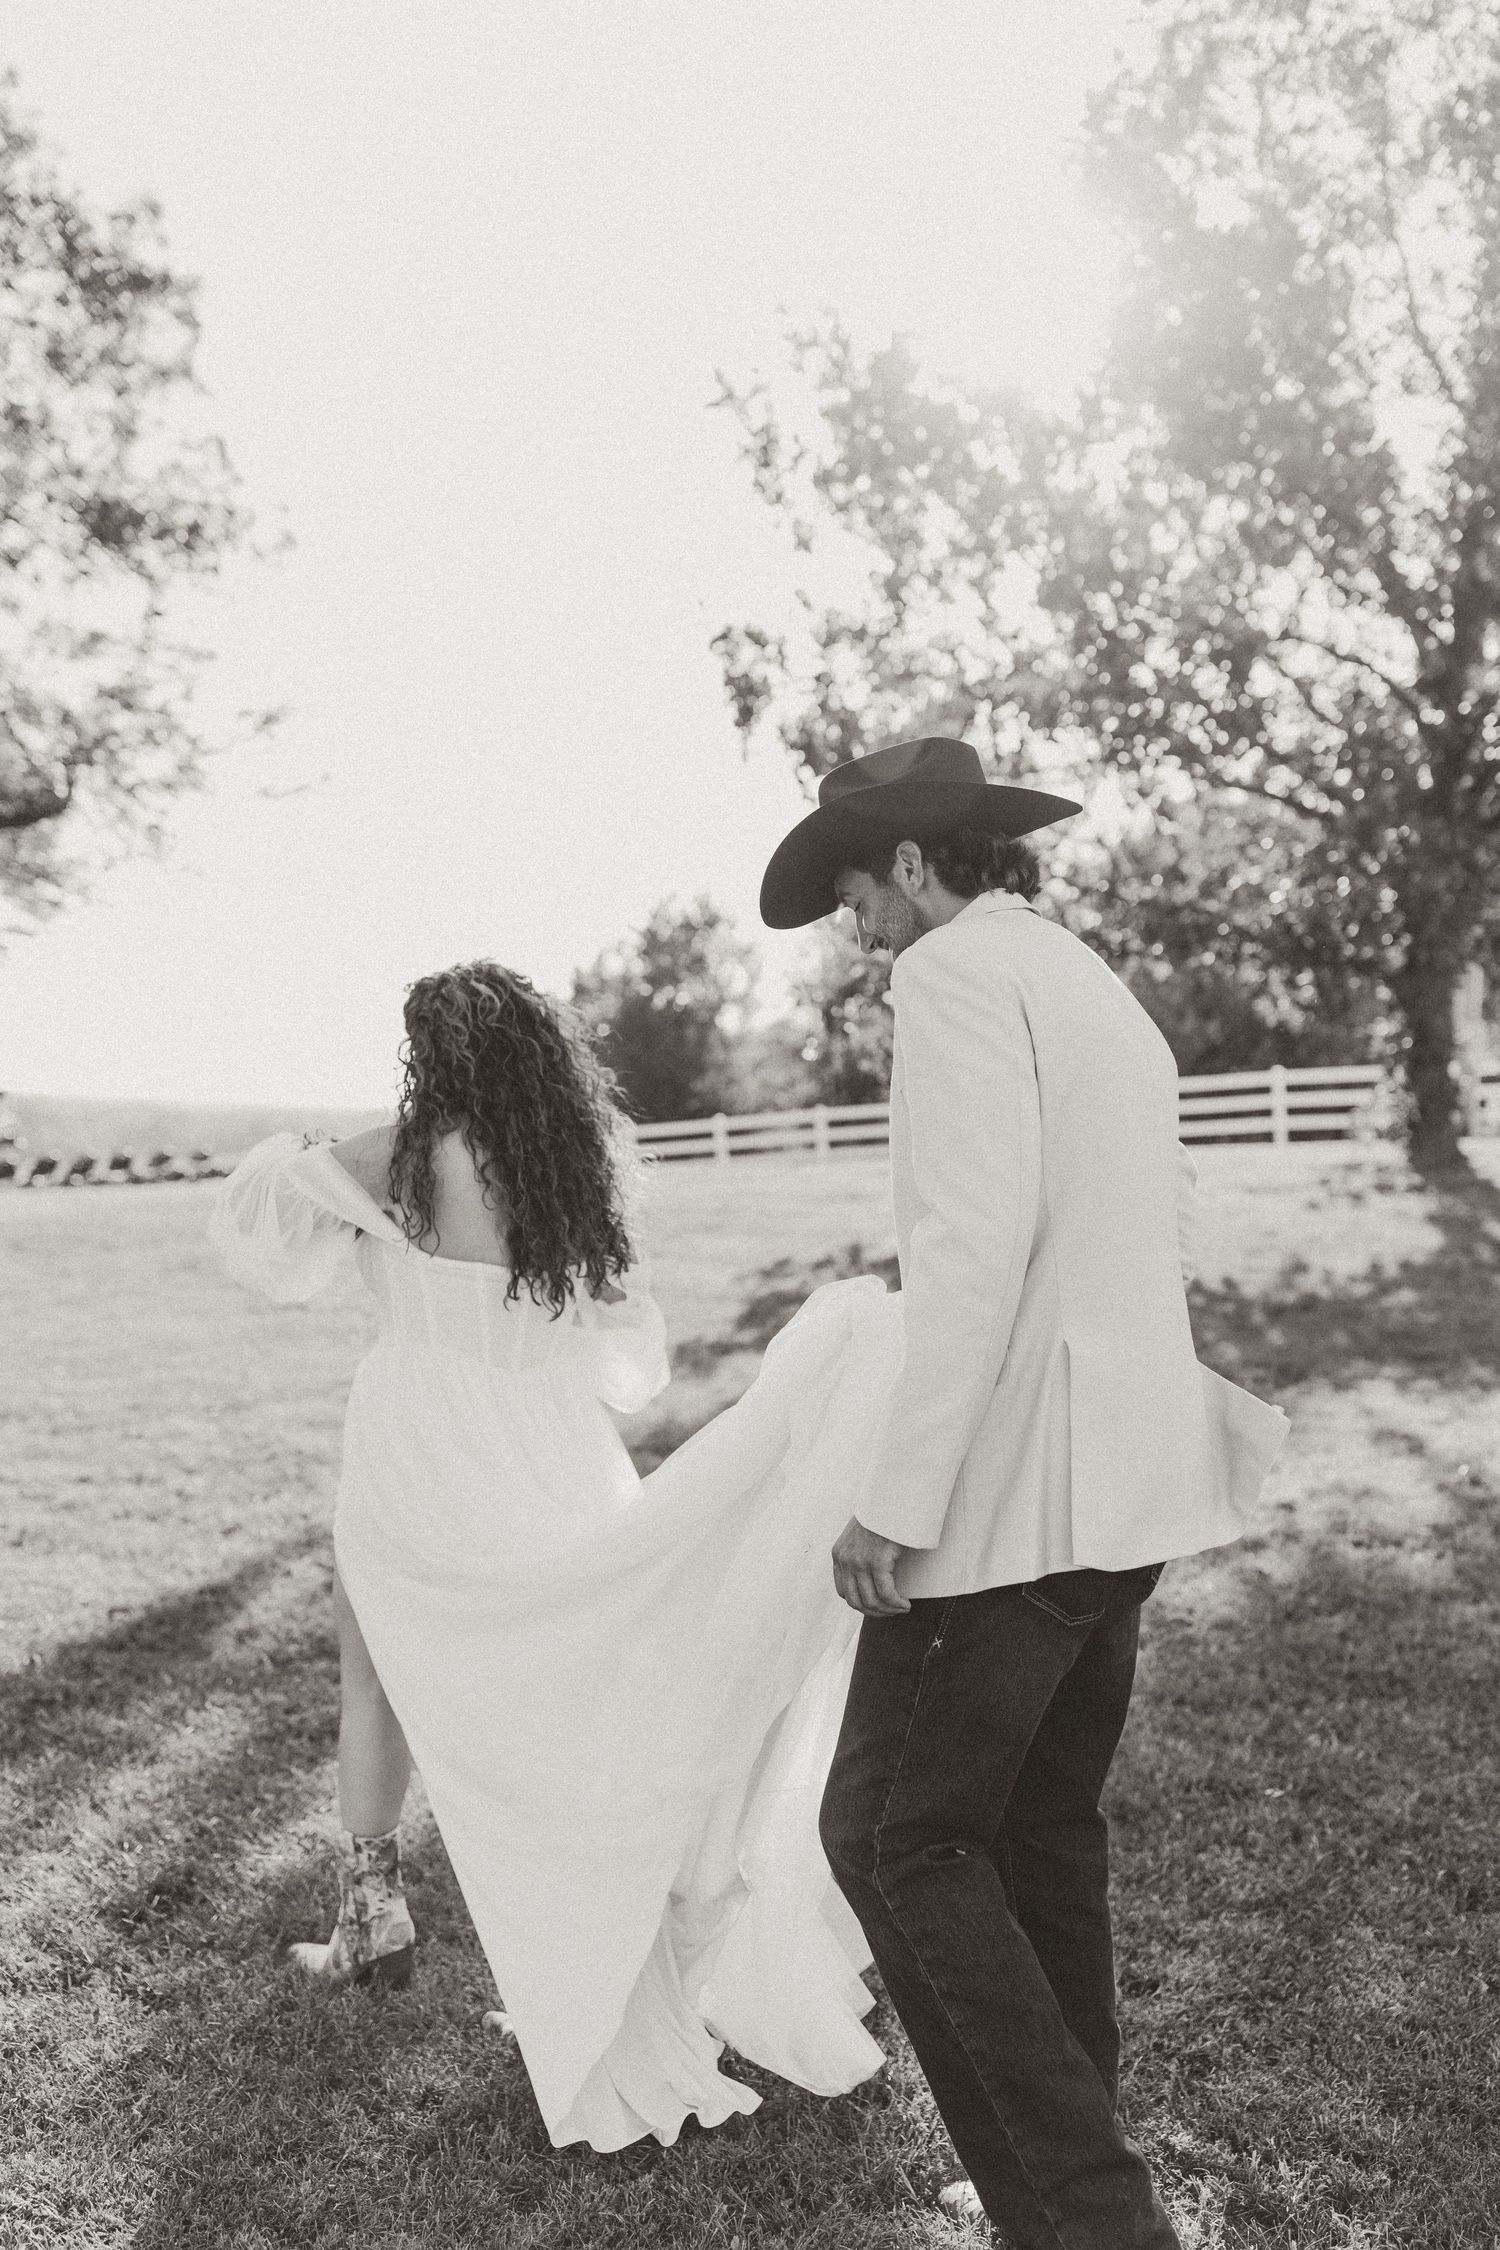
This is where all the romance, emotion, and fun happens.
I’ll typically sneak the two of you away for sunset portraits, where I’ll guide you through natural, candid moments (and yes—lots of kissing photos too, haha!).
I usually set aside about 30–45 minutes for couple portraits.
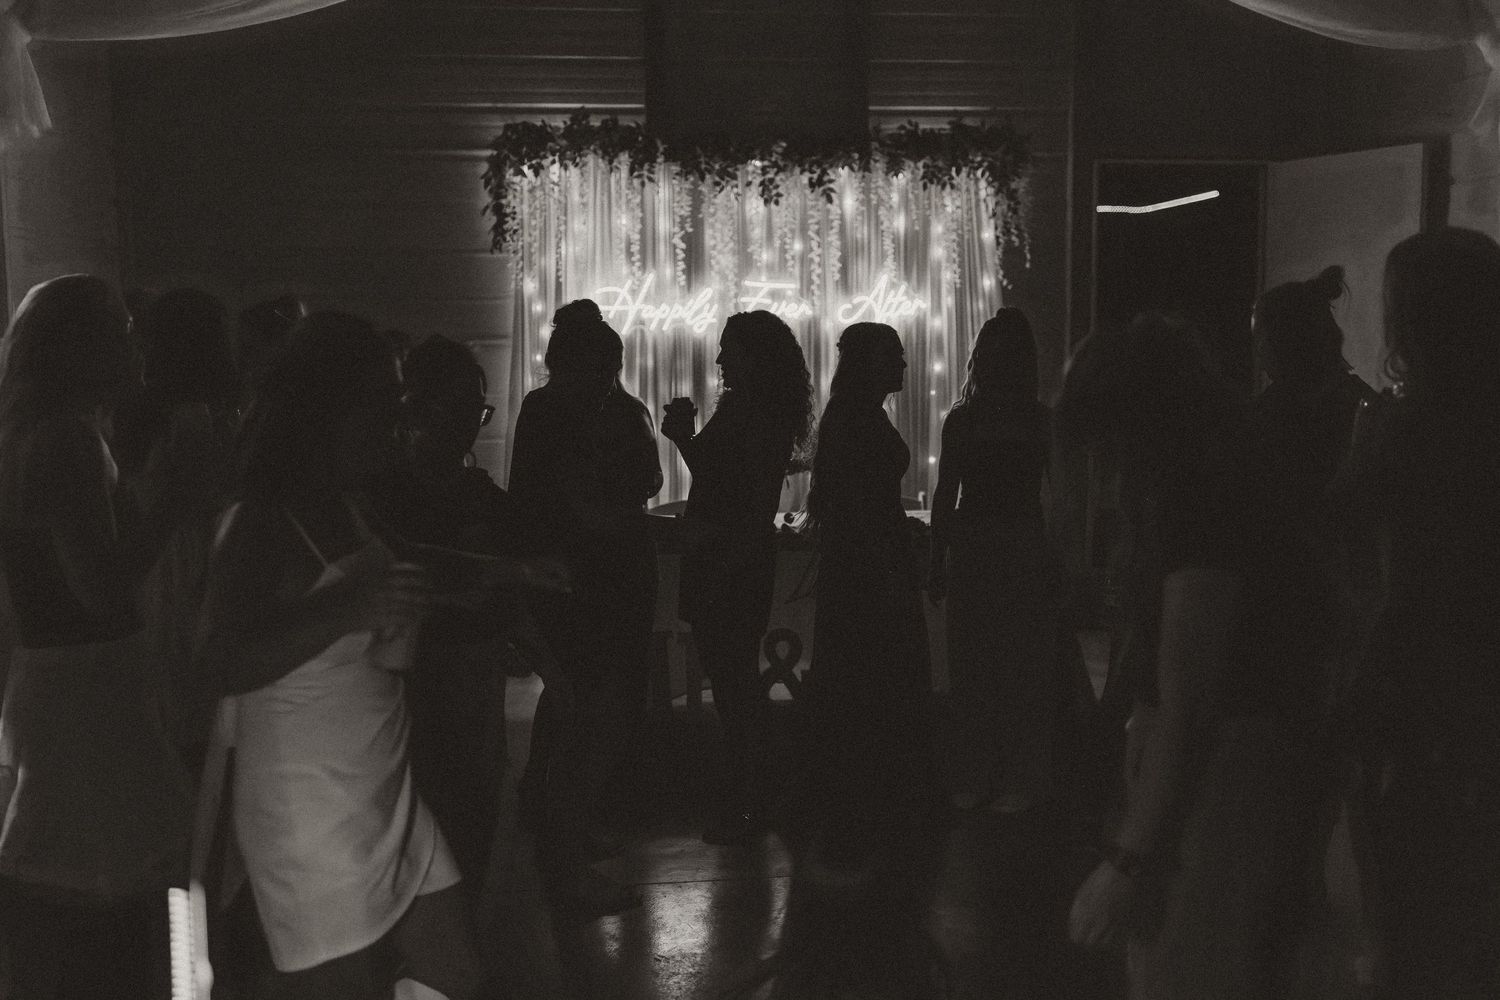
YOUR STORY, LUCKY AS IT GETS
More than anything, I want you to be fully present—soaking in every moment as it happens. These are simply tips and suggestions to help guide you, but what truly matters is the time you’ll spend celebrating your love, surrounded by your people.
The final tip:
Feel it all in your soul.
Walking down the aisle toward your person.
Reading the vows and promises you’ve written for one another.
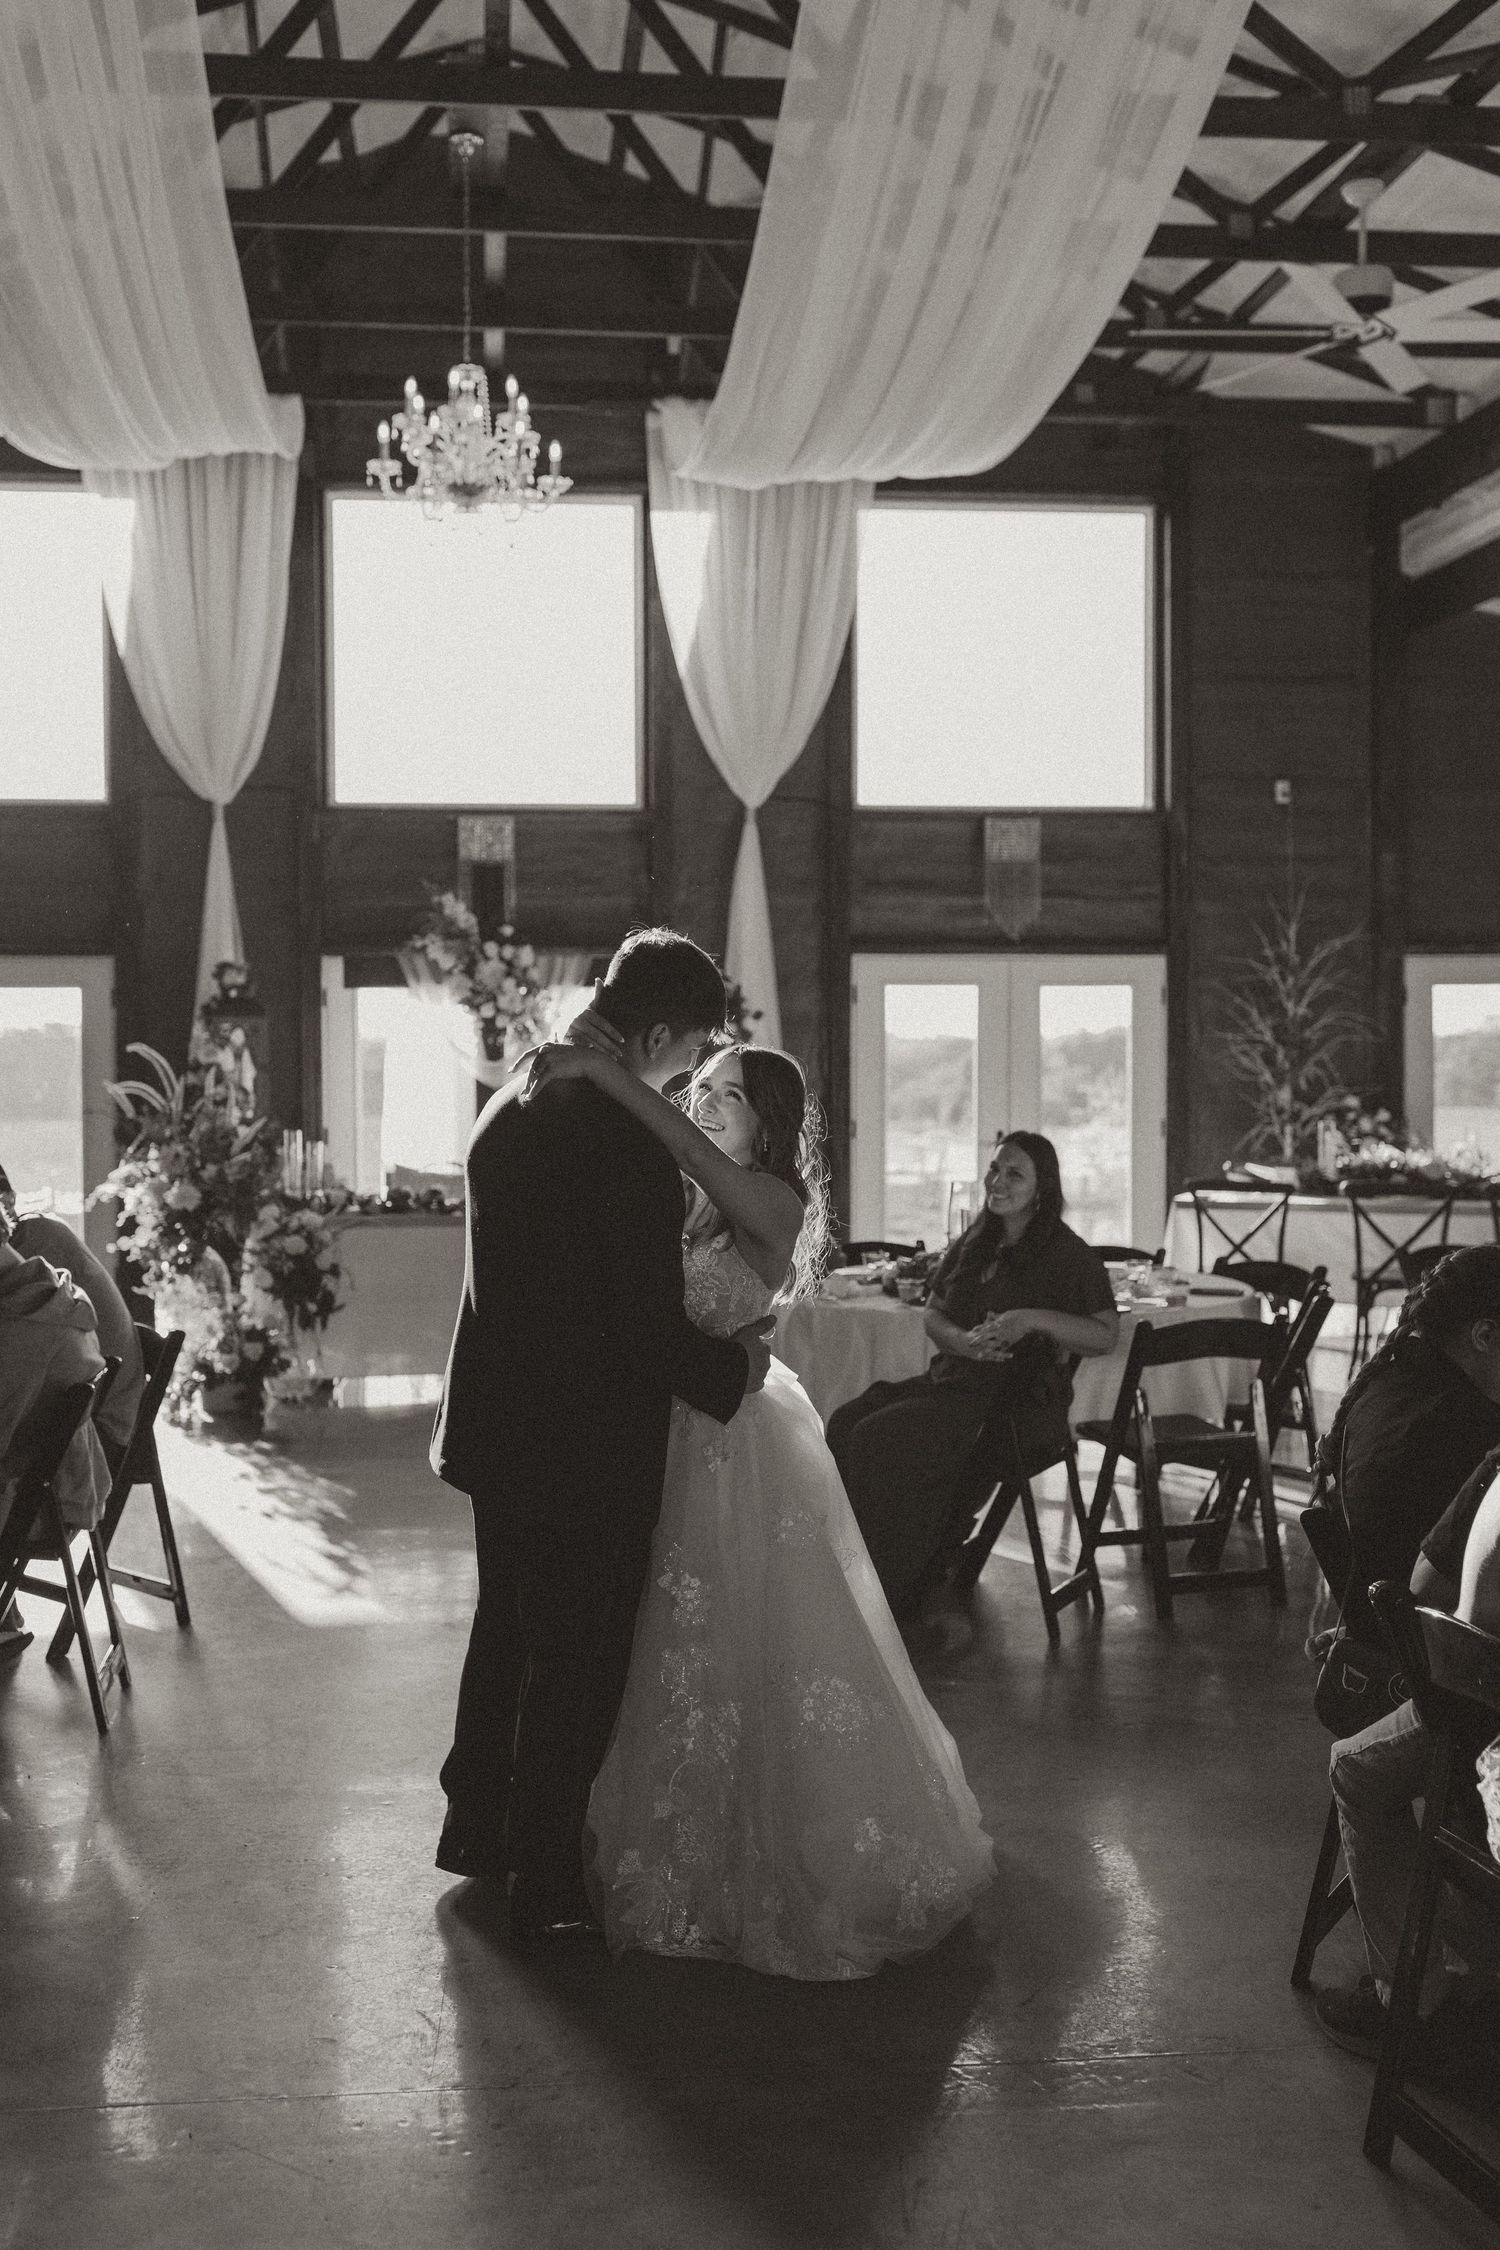
Sharing your first dance as husband and wife.
These are the moments that matter most—and the ones I’ll be there to capture, so you can hold onto them forever.